Support & Documentation
Everything you need to get started with Botzila.io and create powerful AI chatbots
Botzila.io
Original Intelligence!
Everything you need to get started with Botzila.io and create powerful AI chatbots
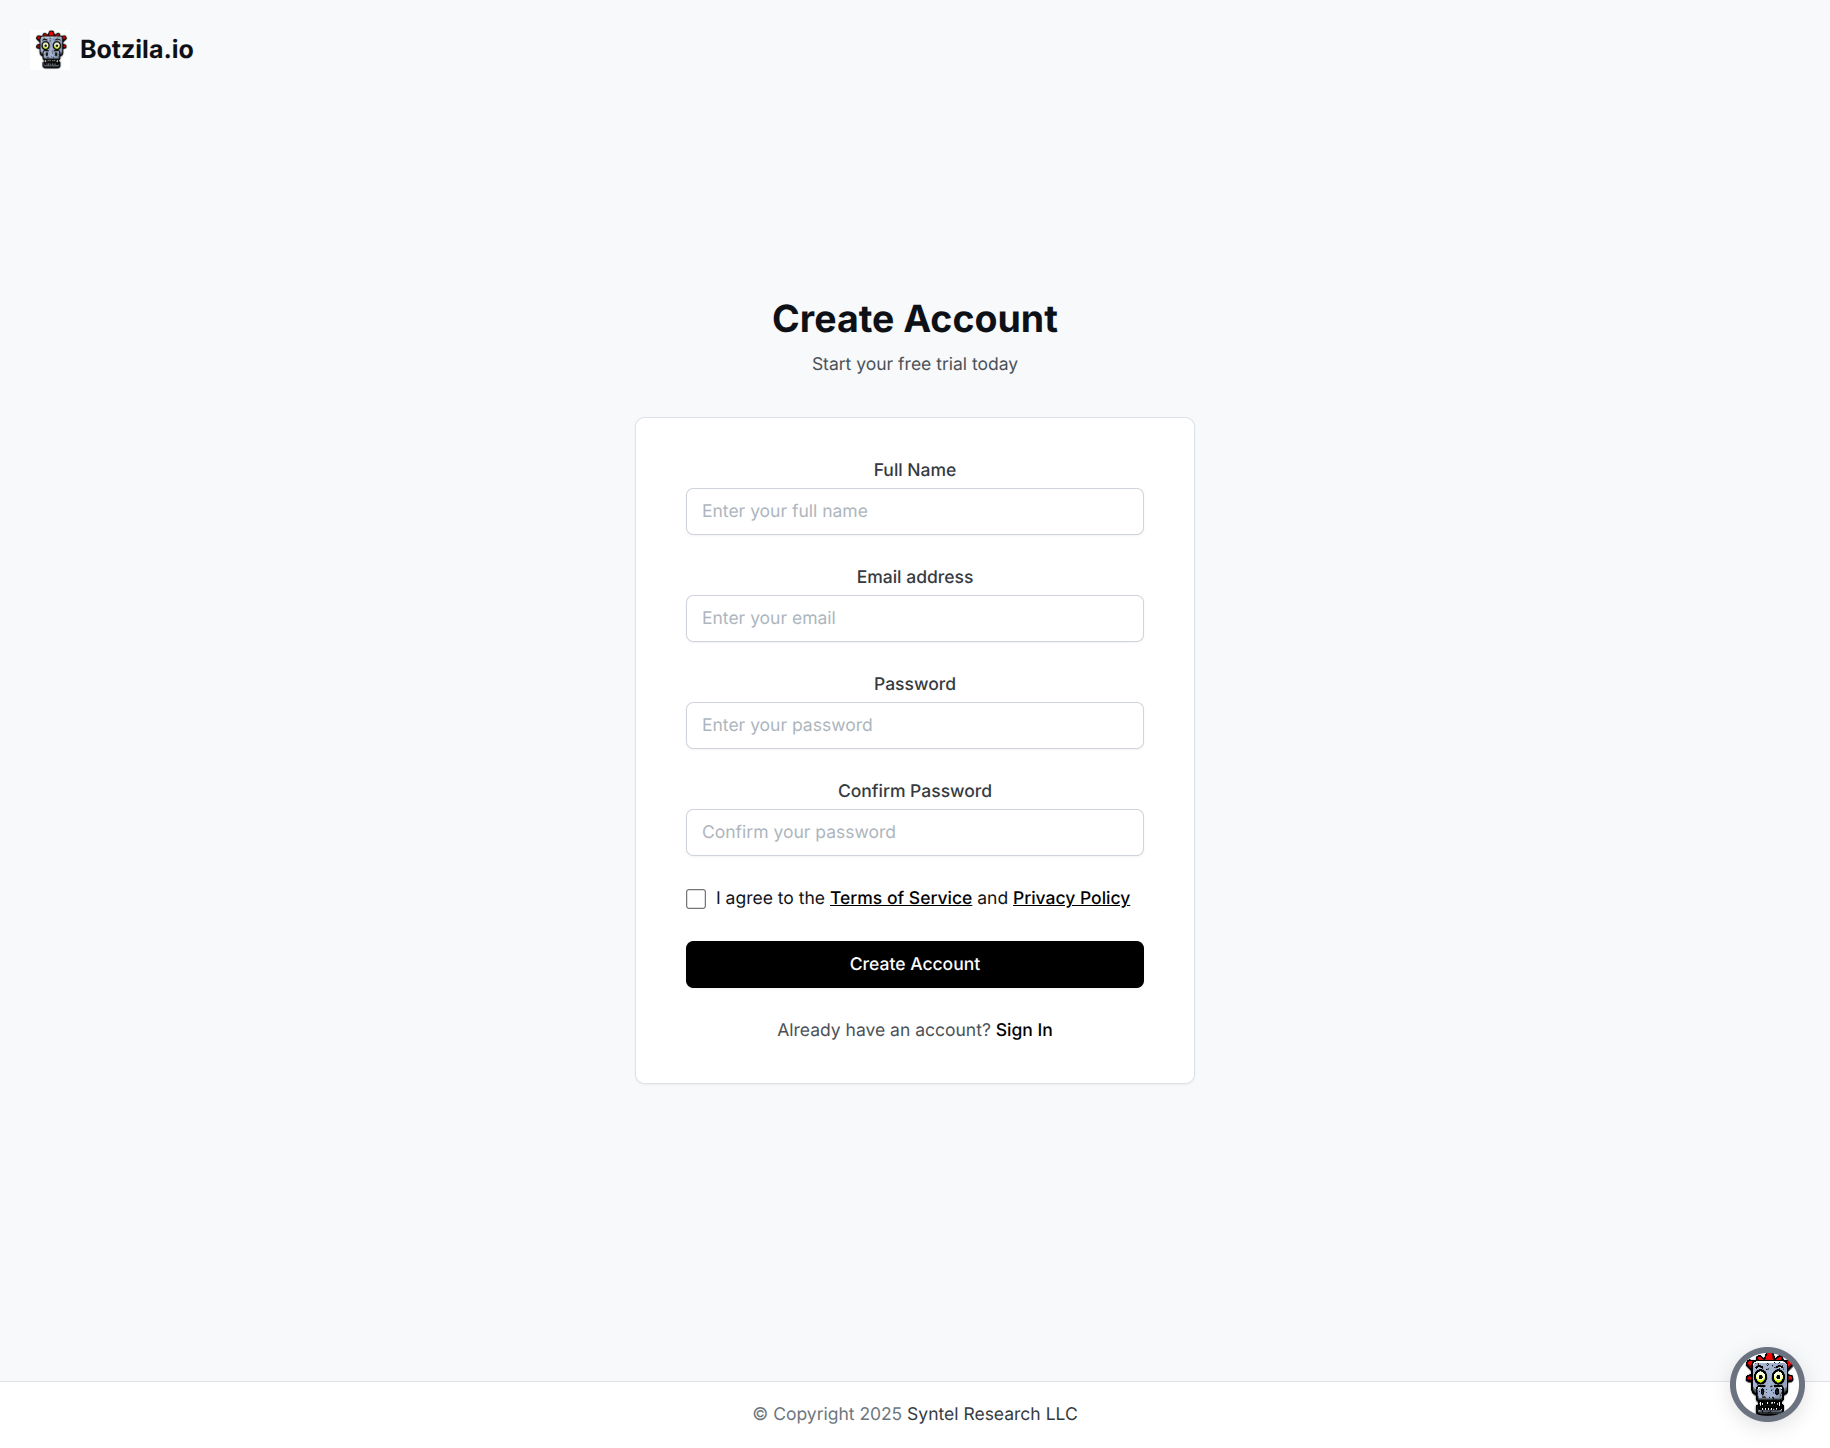
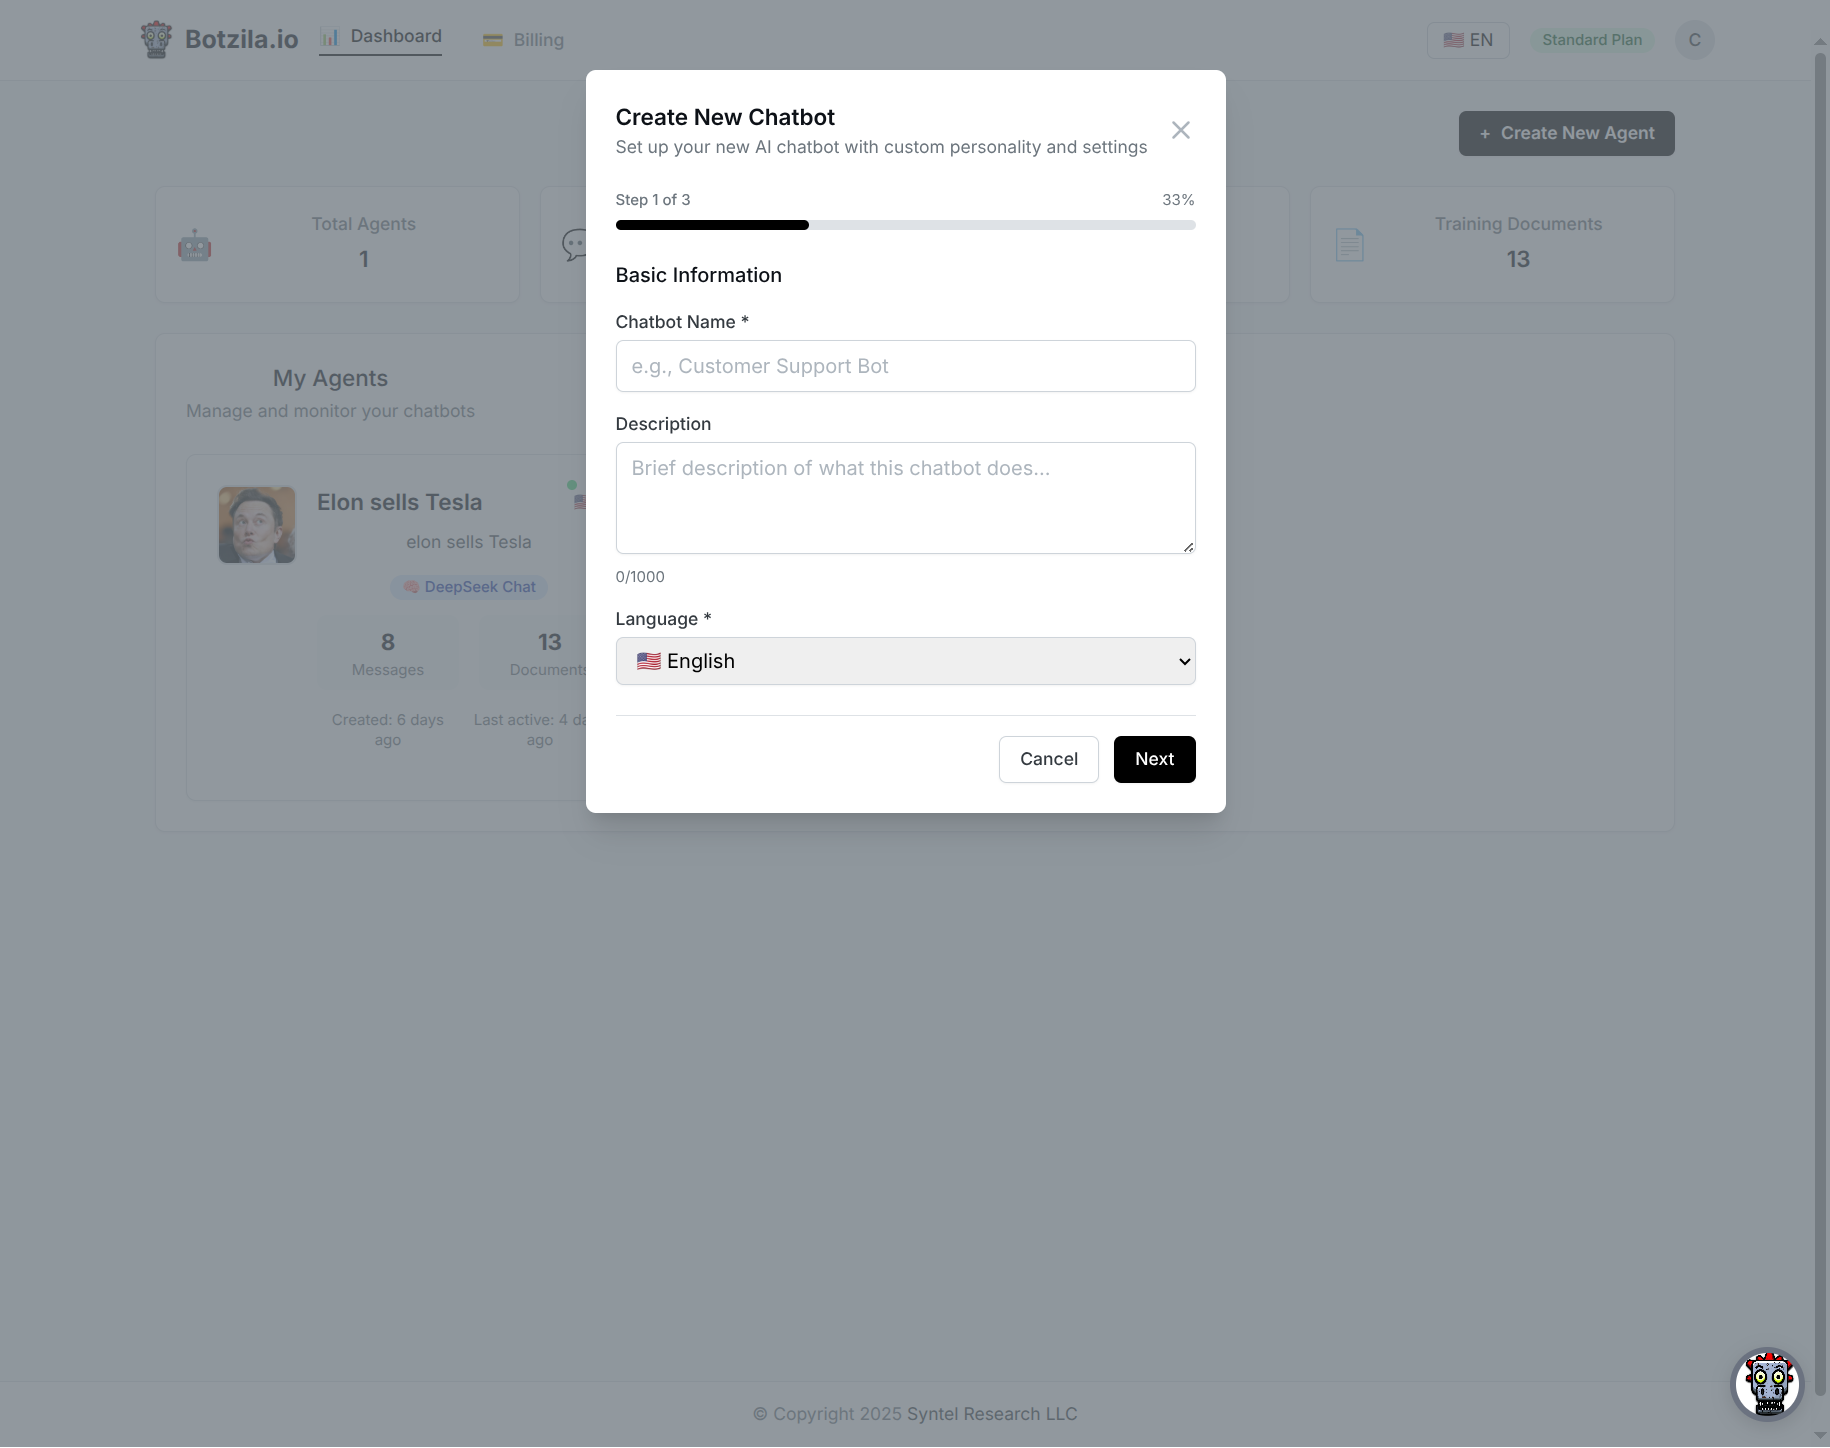
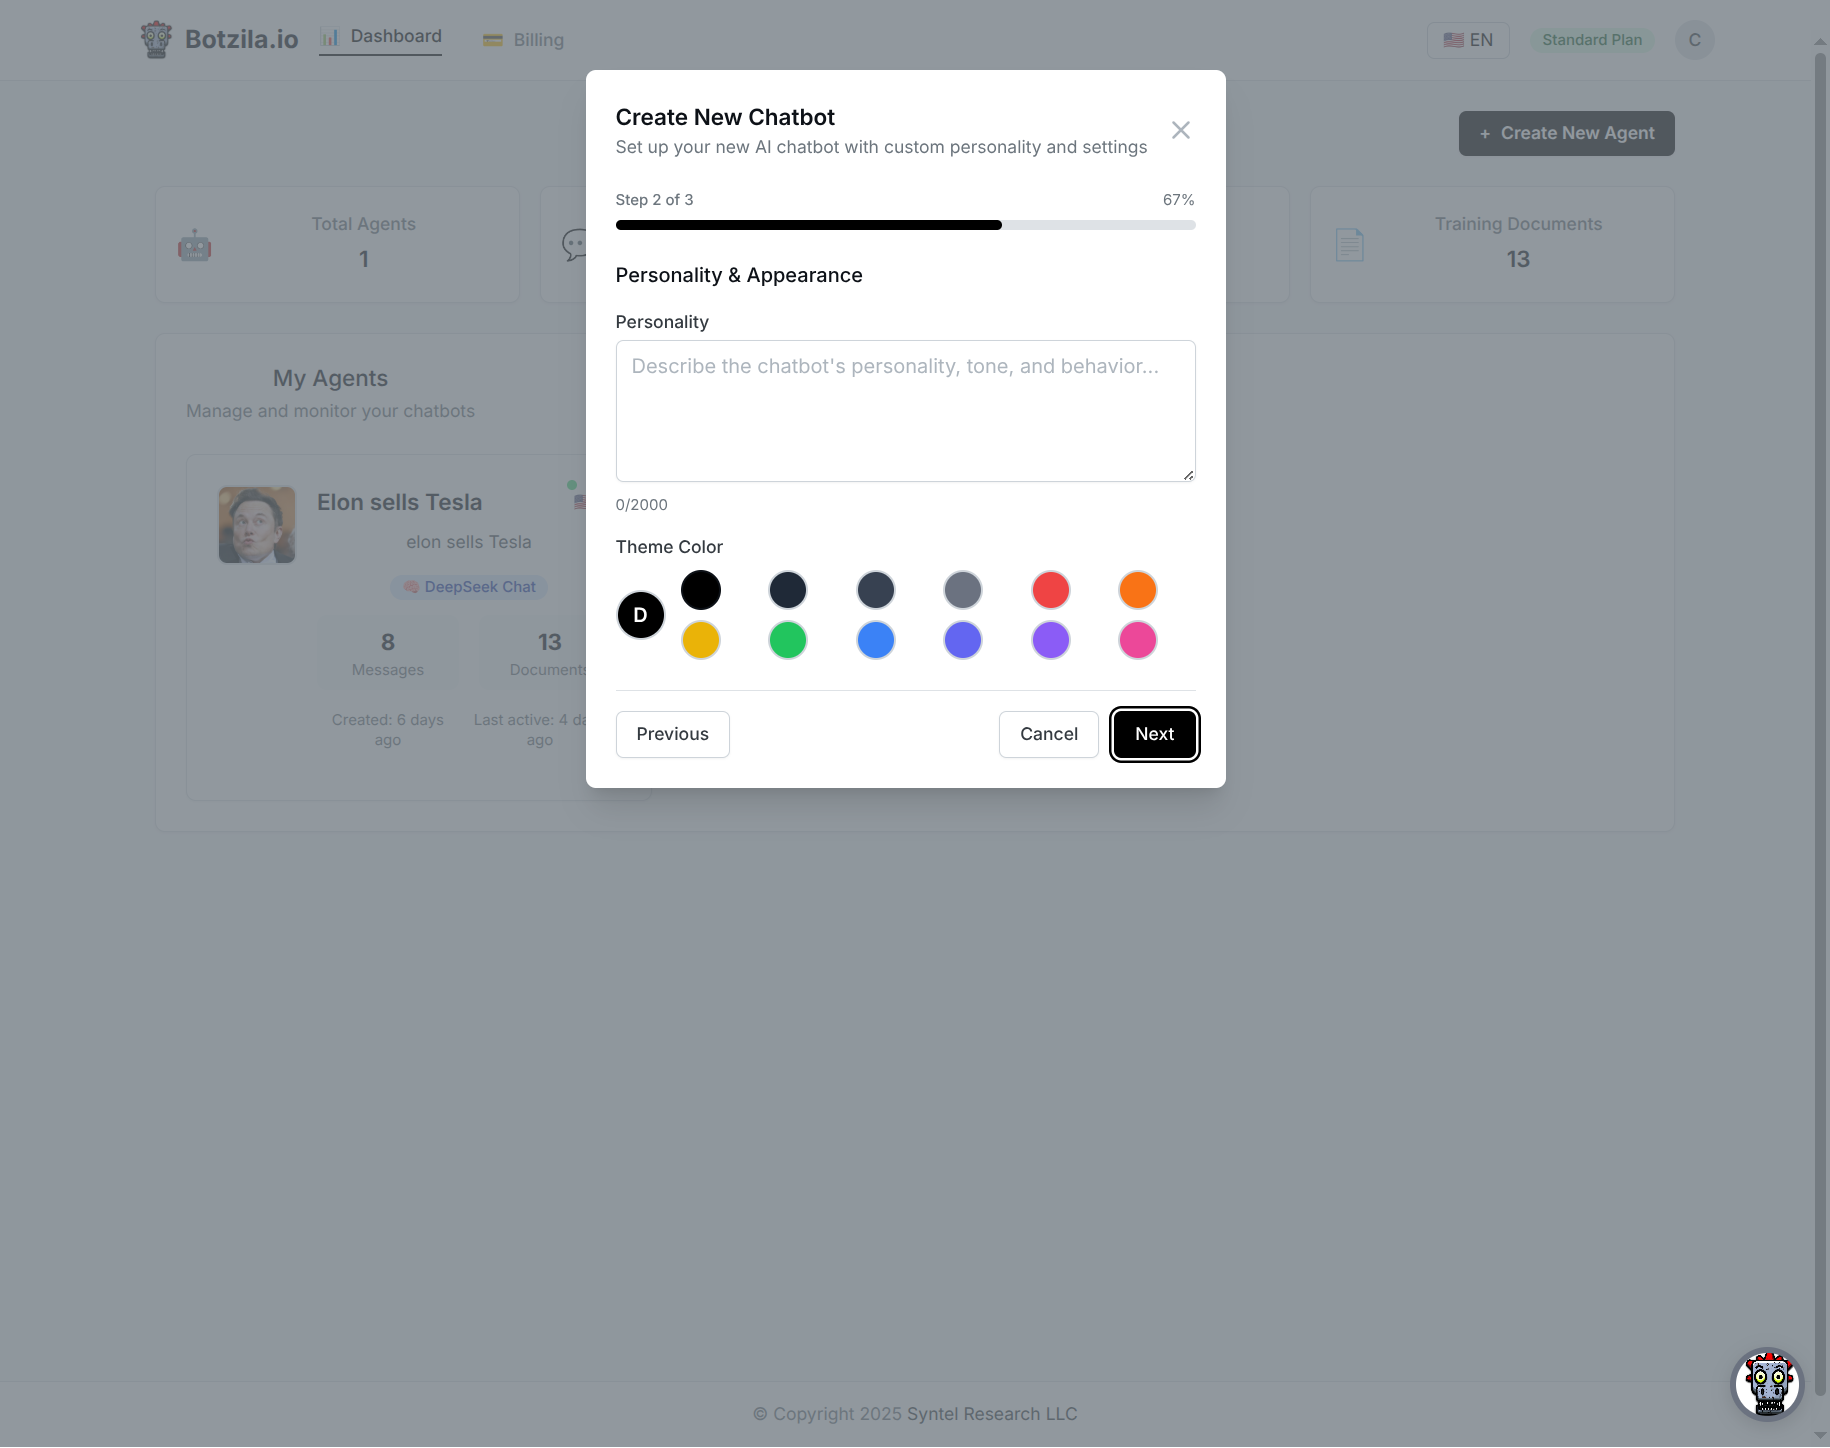
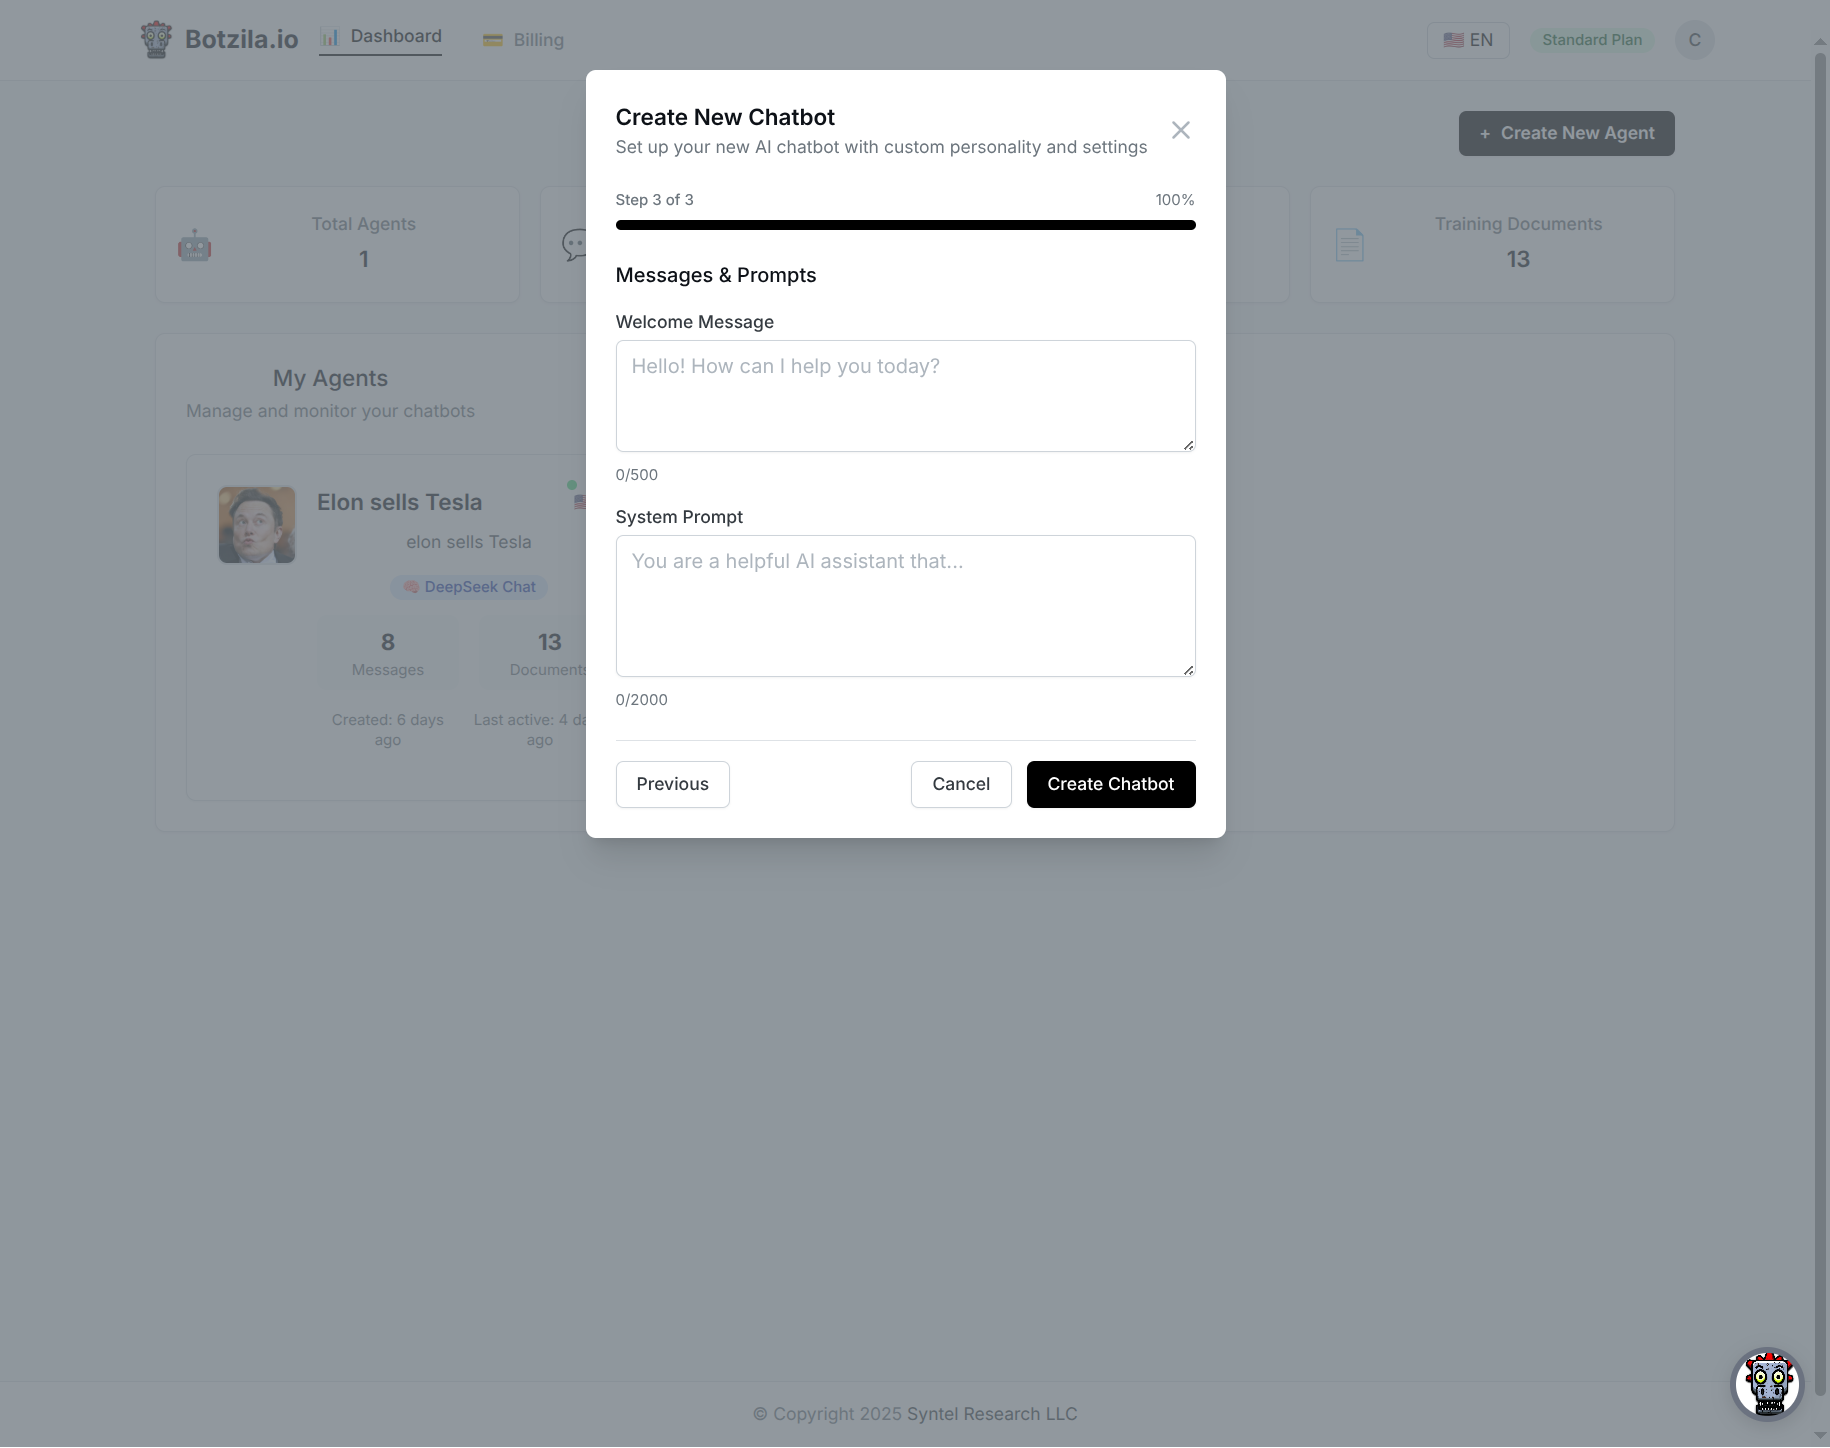
Learn how to create your account and build your first AI chatbot in minutes
Learn how to manage, configure, and train your AI chatbots
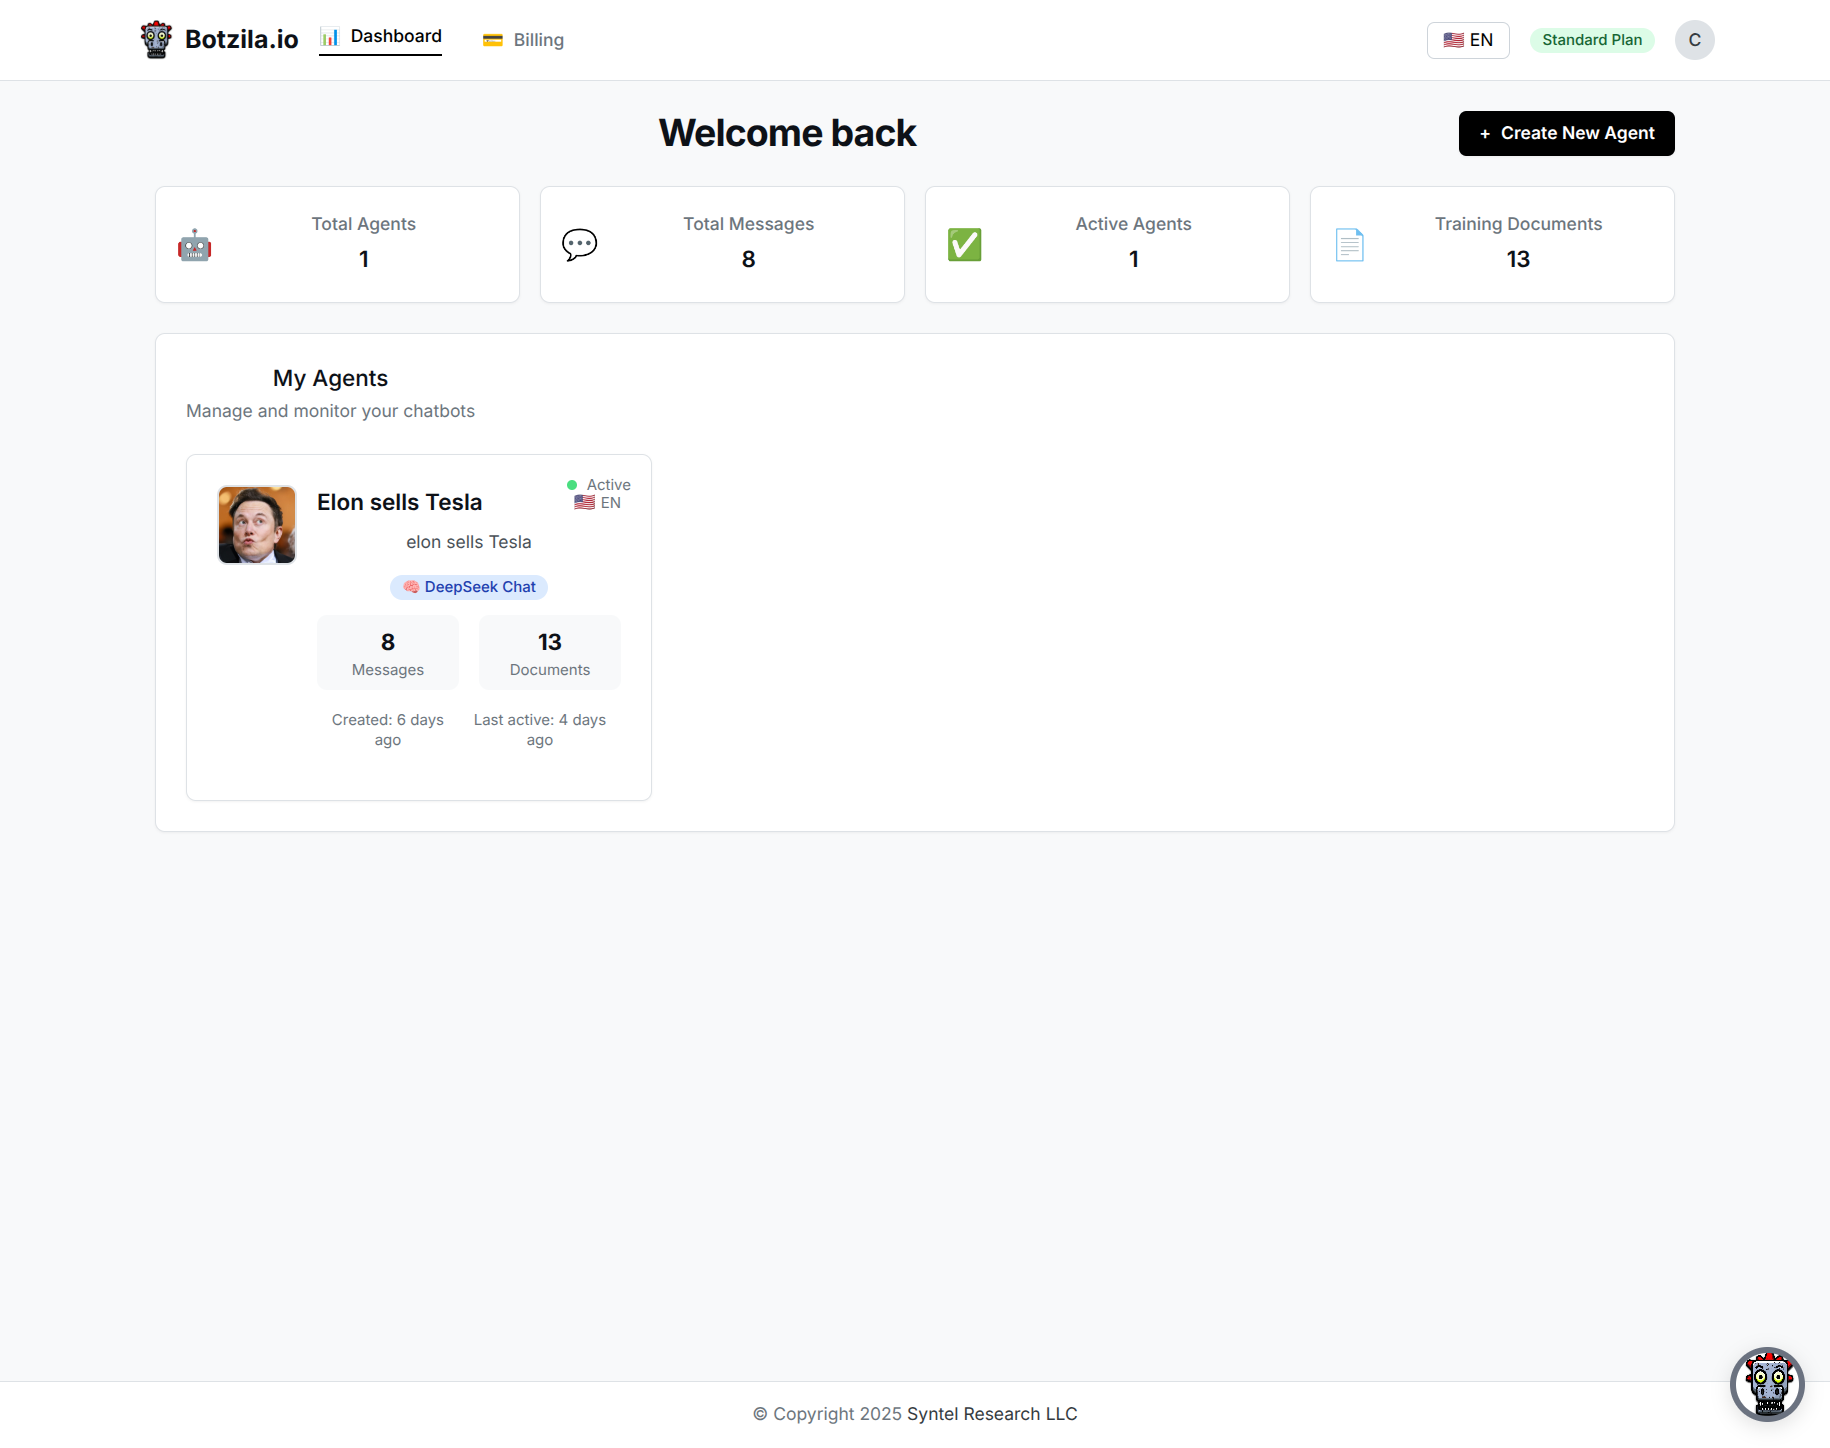
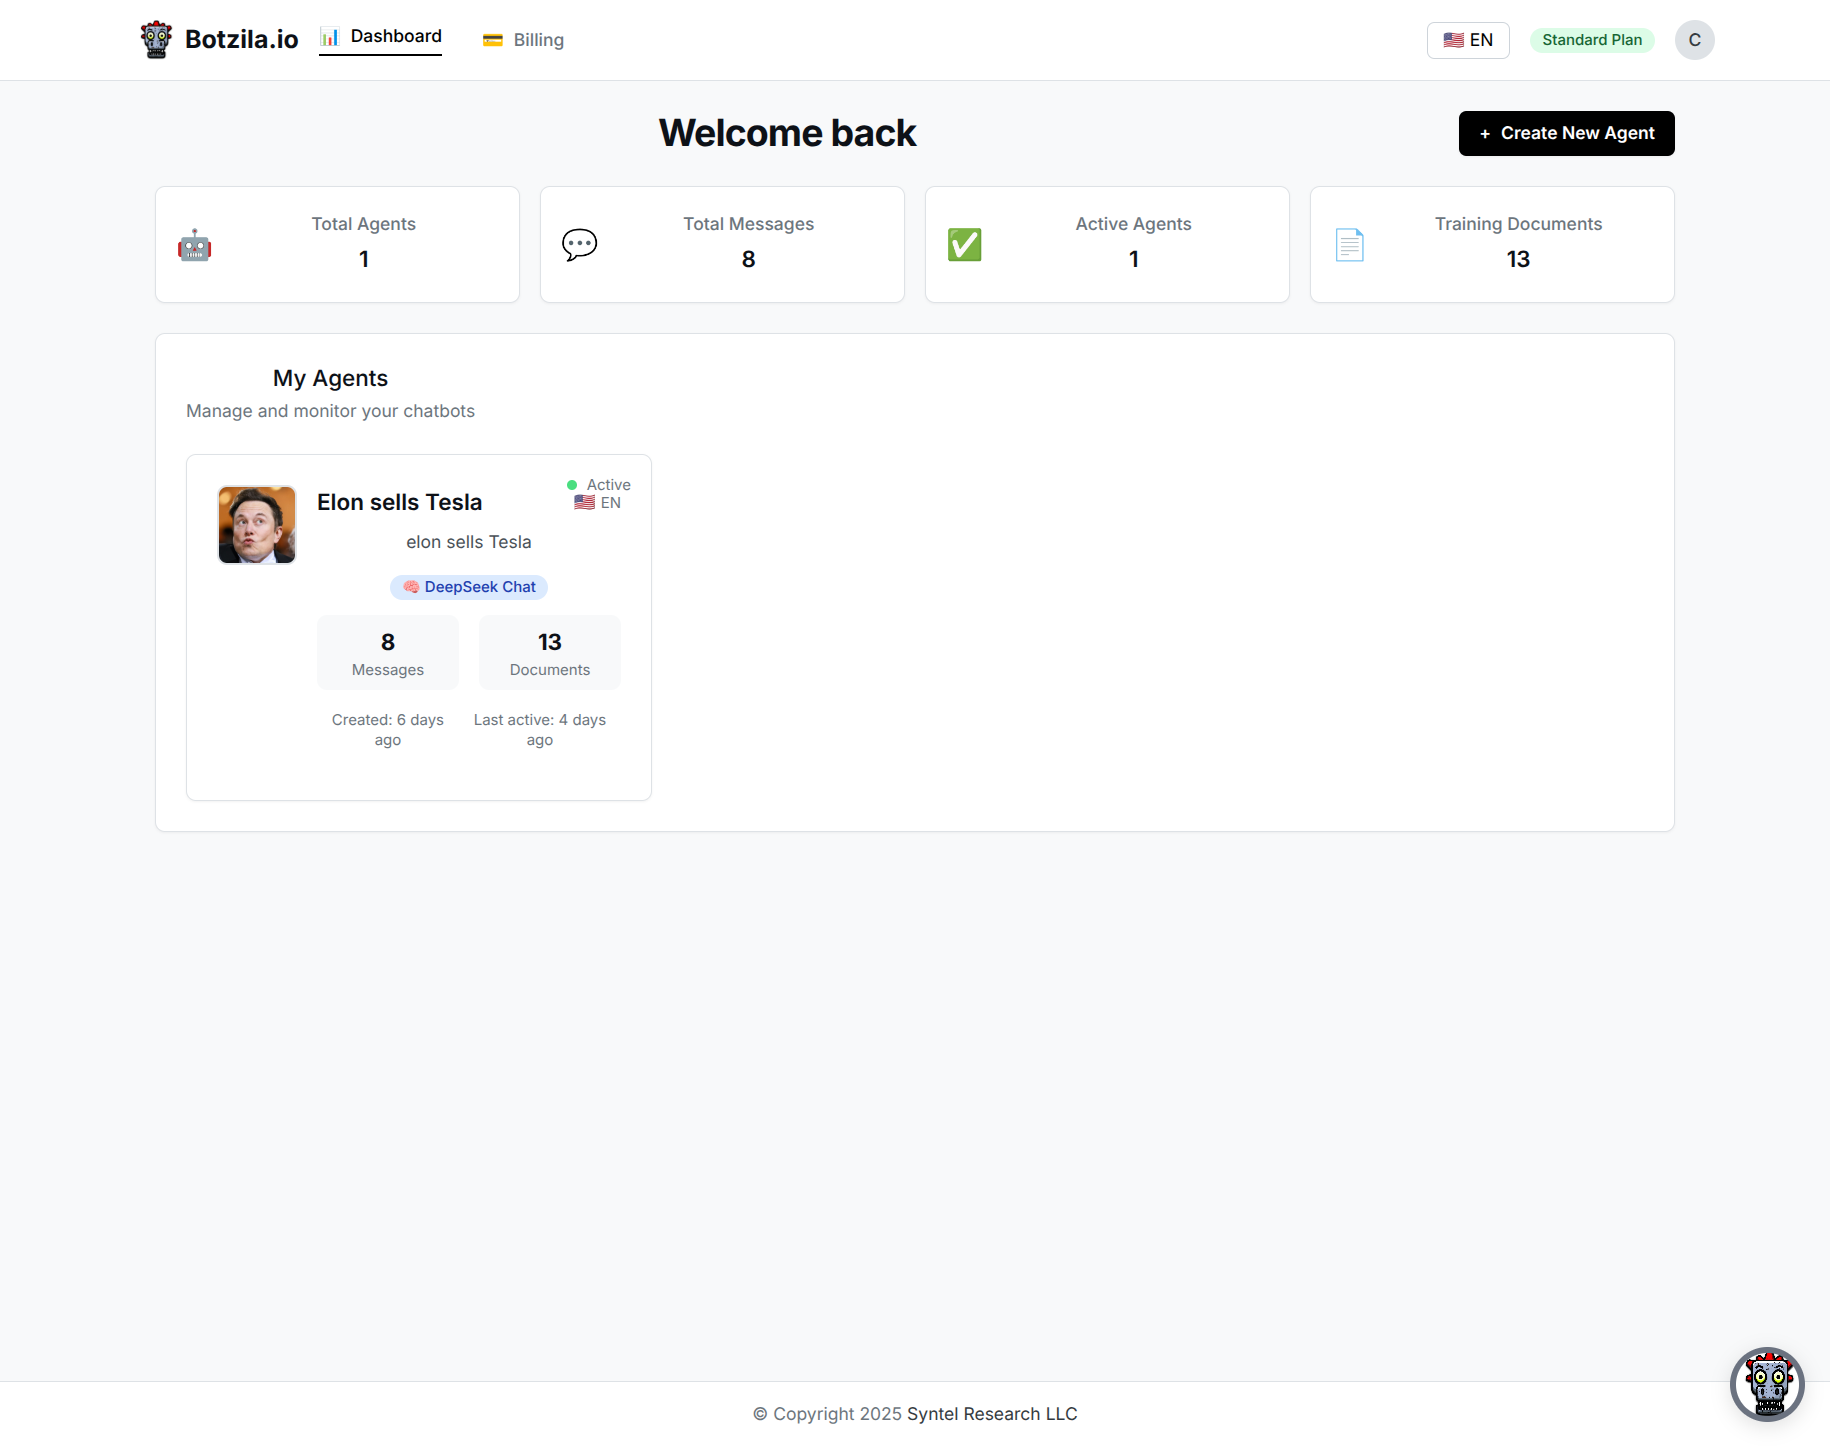
The dashboard shows all your chatbots with key statistics:
Configure your chatbot's behavior and appearance in the Settings tab:
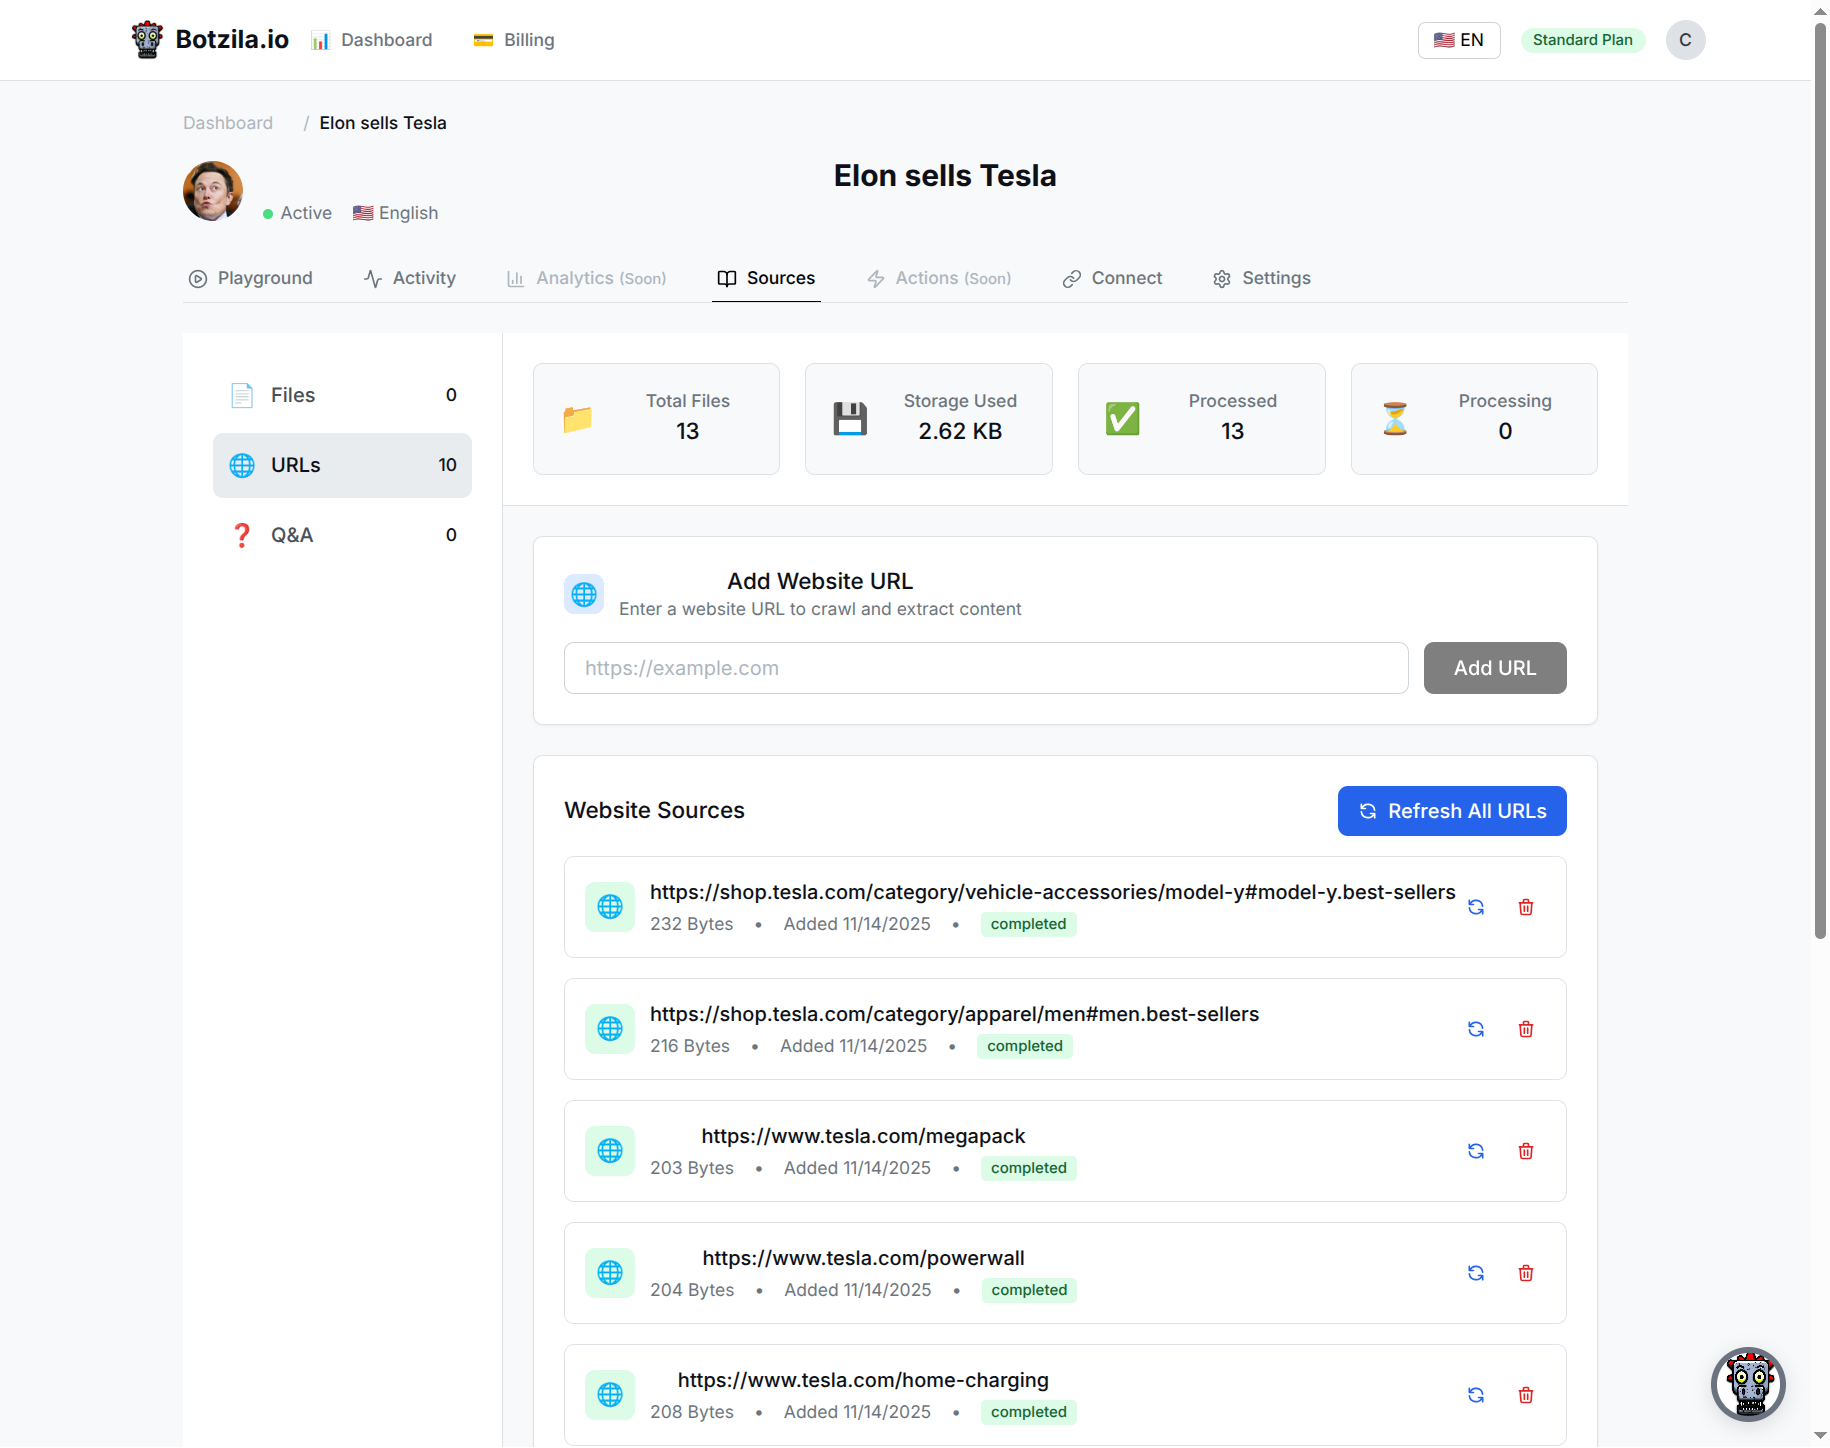
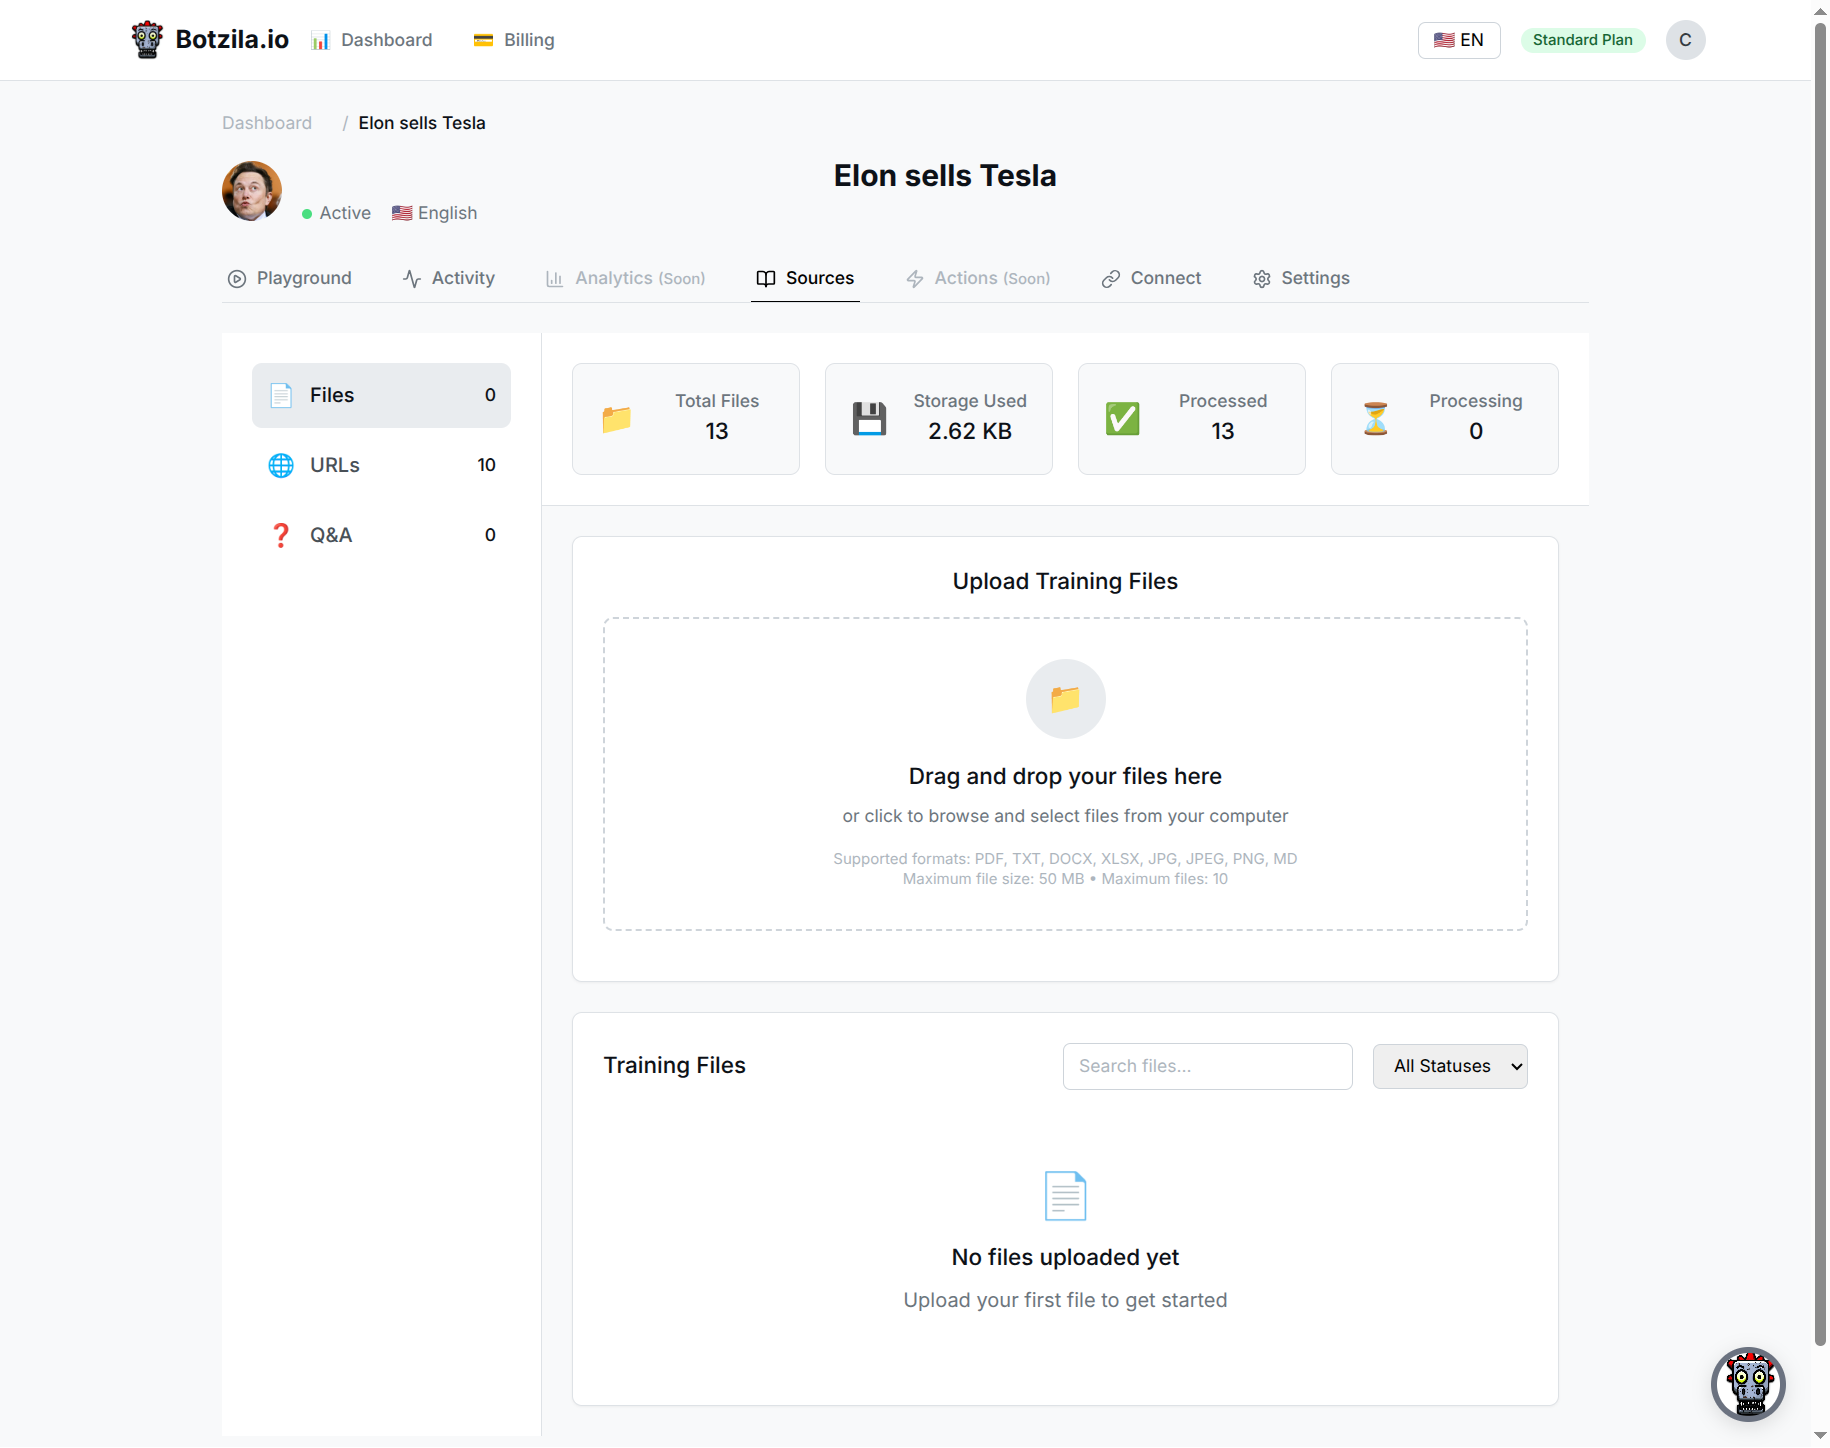
Upload PDF, DOCX, TXT, and XLSX files. Supports drag-and-drop and batch uploads. Monitor processing status in real-time.
Add URLs to crawl and extract content. Configure max pages, depth, and include/exclude paths. Refresh content anytime.
Manually input text content. Perfect for FAQs, policies, or any custom content. Edit and update anytime.
Create question-answer pairs directly. Build your knowledge base with specific Q&As. Tag and organize easily.
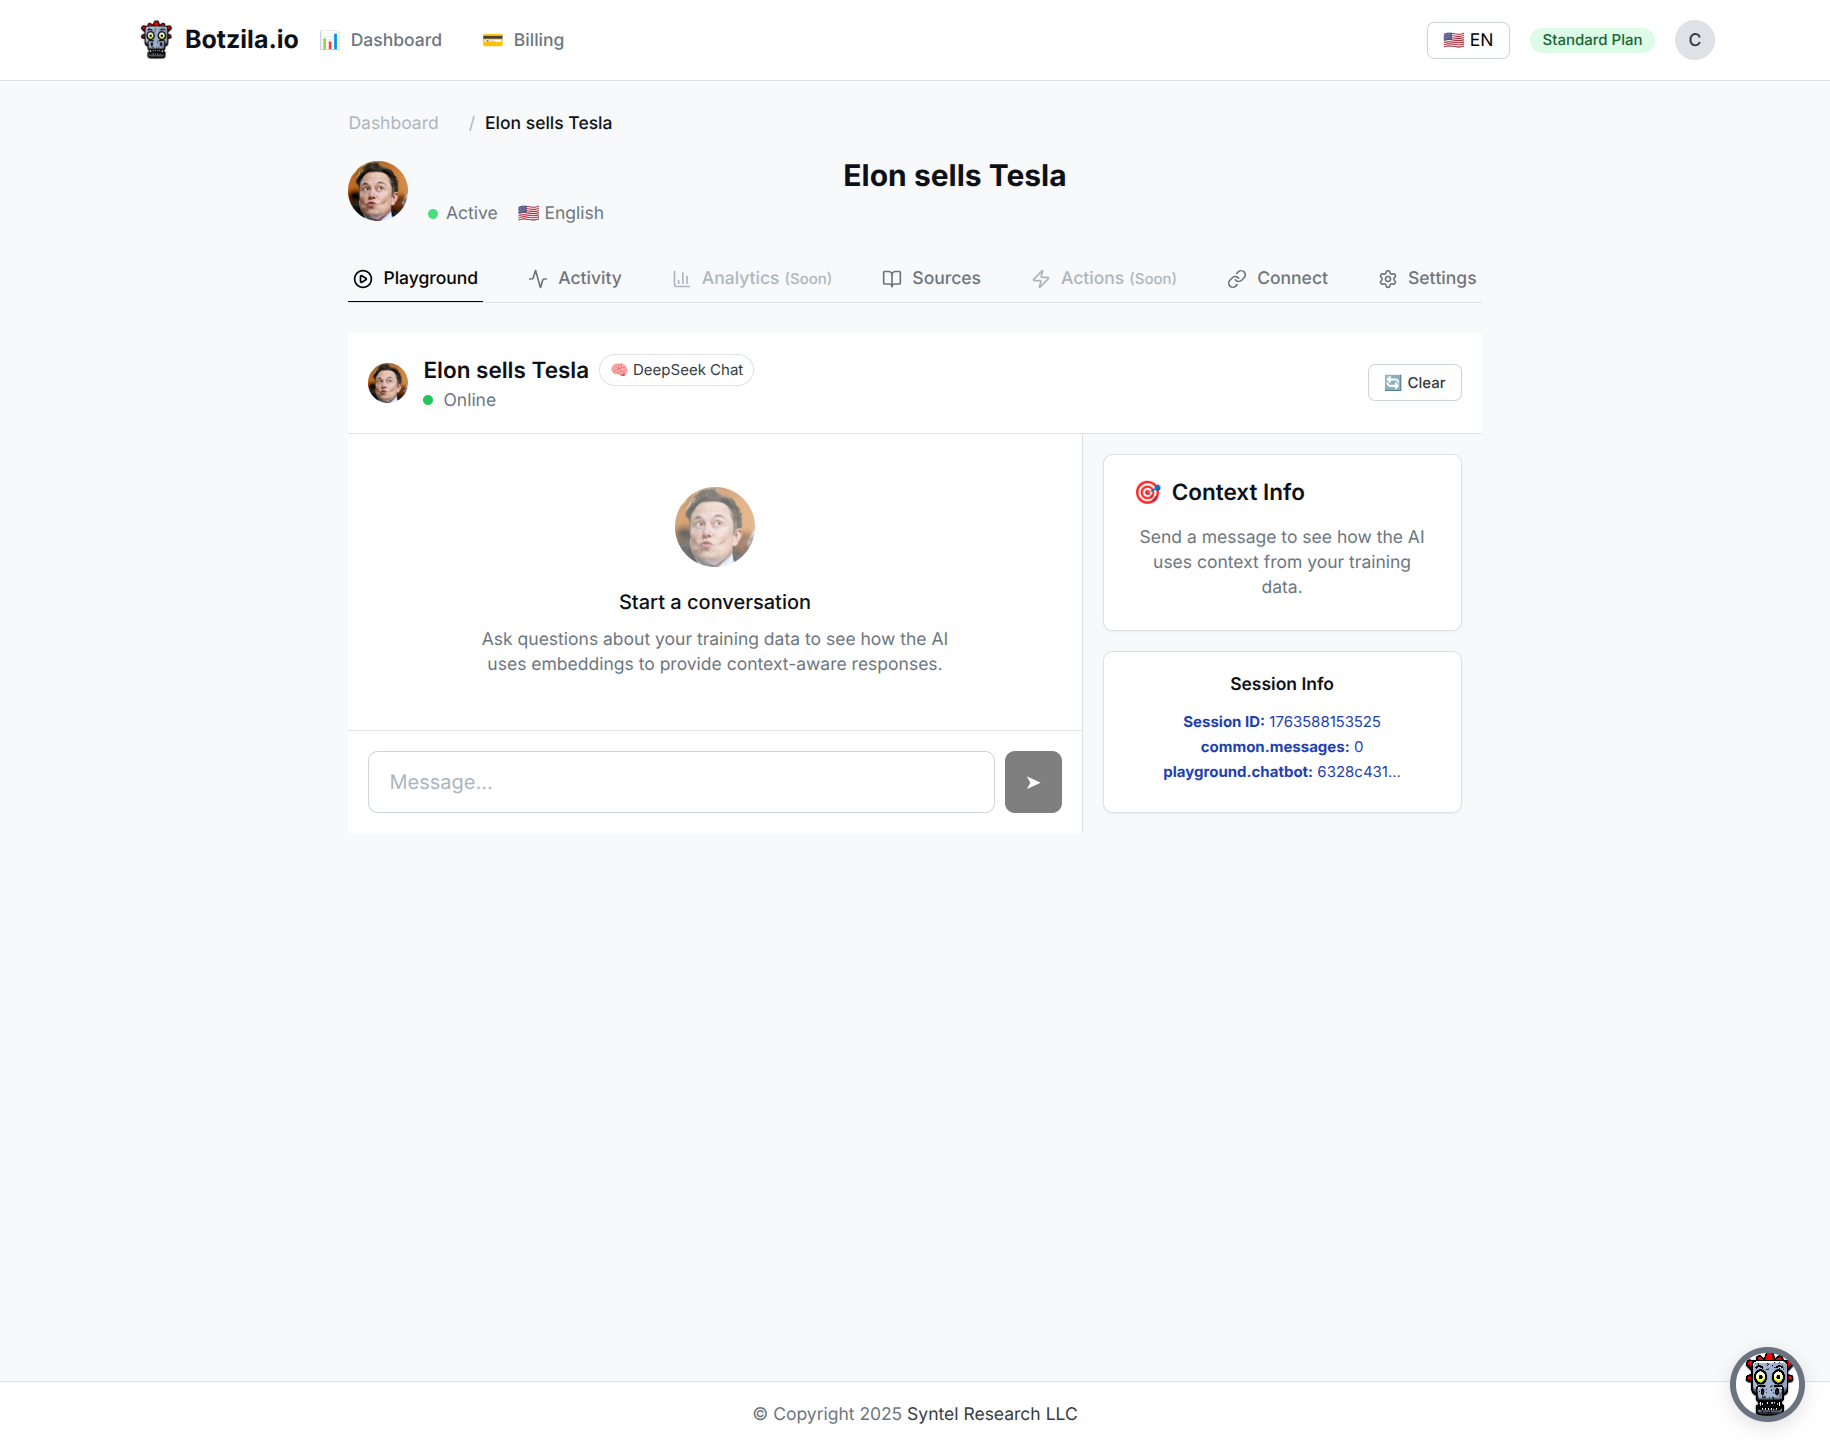
Use the Playground to test your chatbot before deploying. Send messages, see responses, and verify the chatbot understands your training data. All conversations are saved for review.
Configure and deploy your chatbot widget on your website
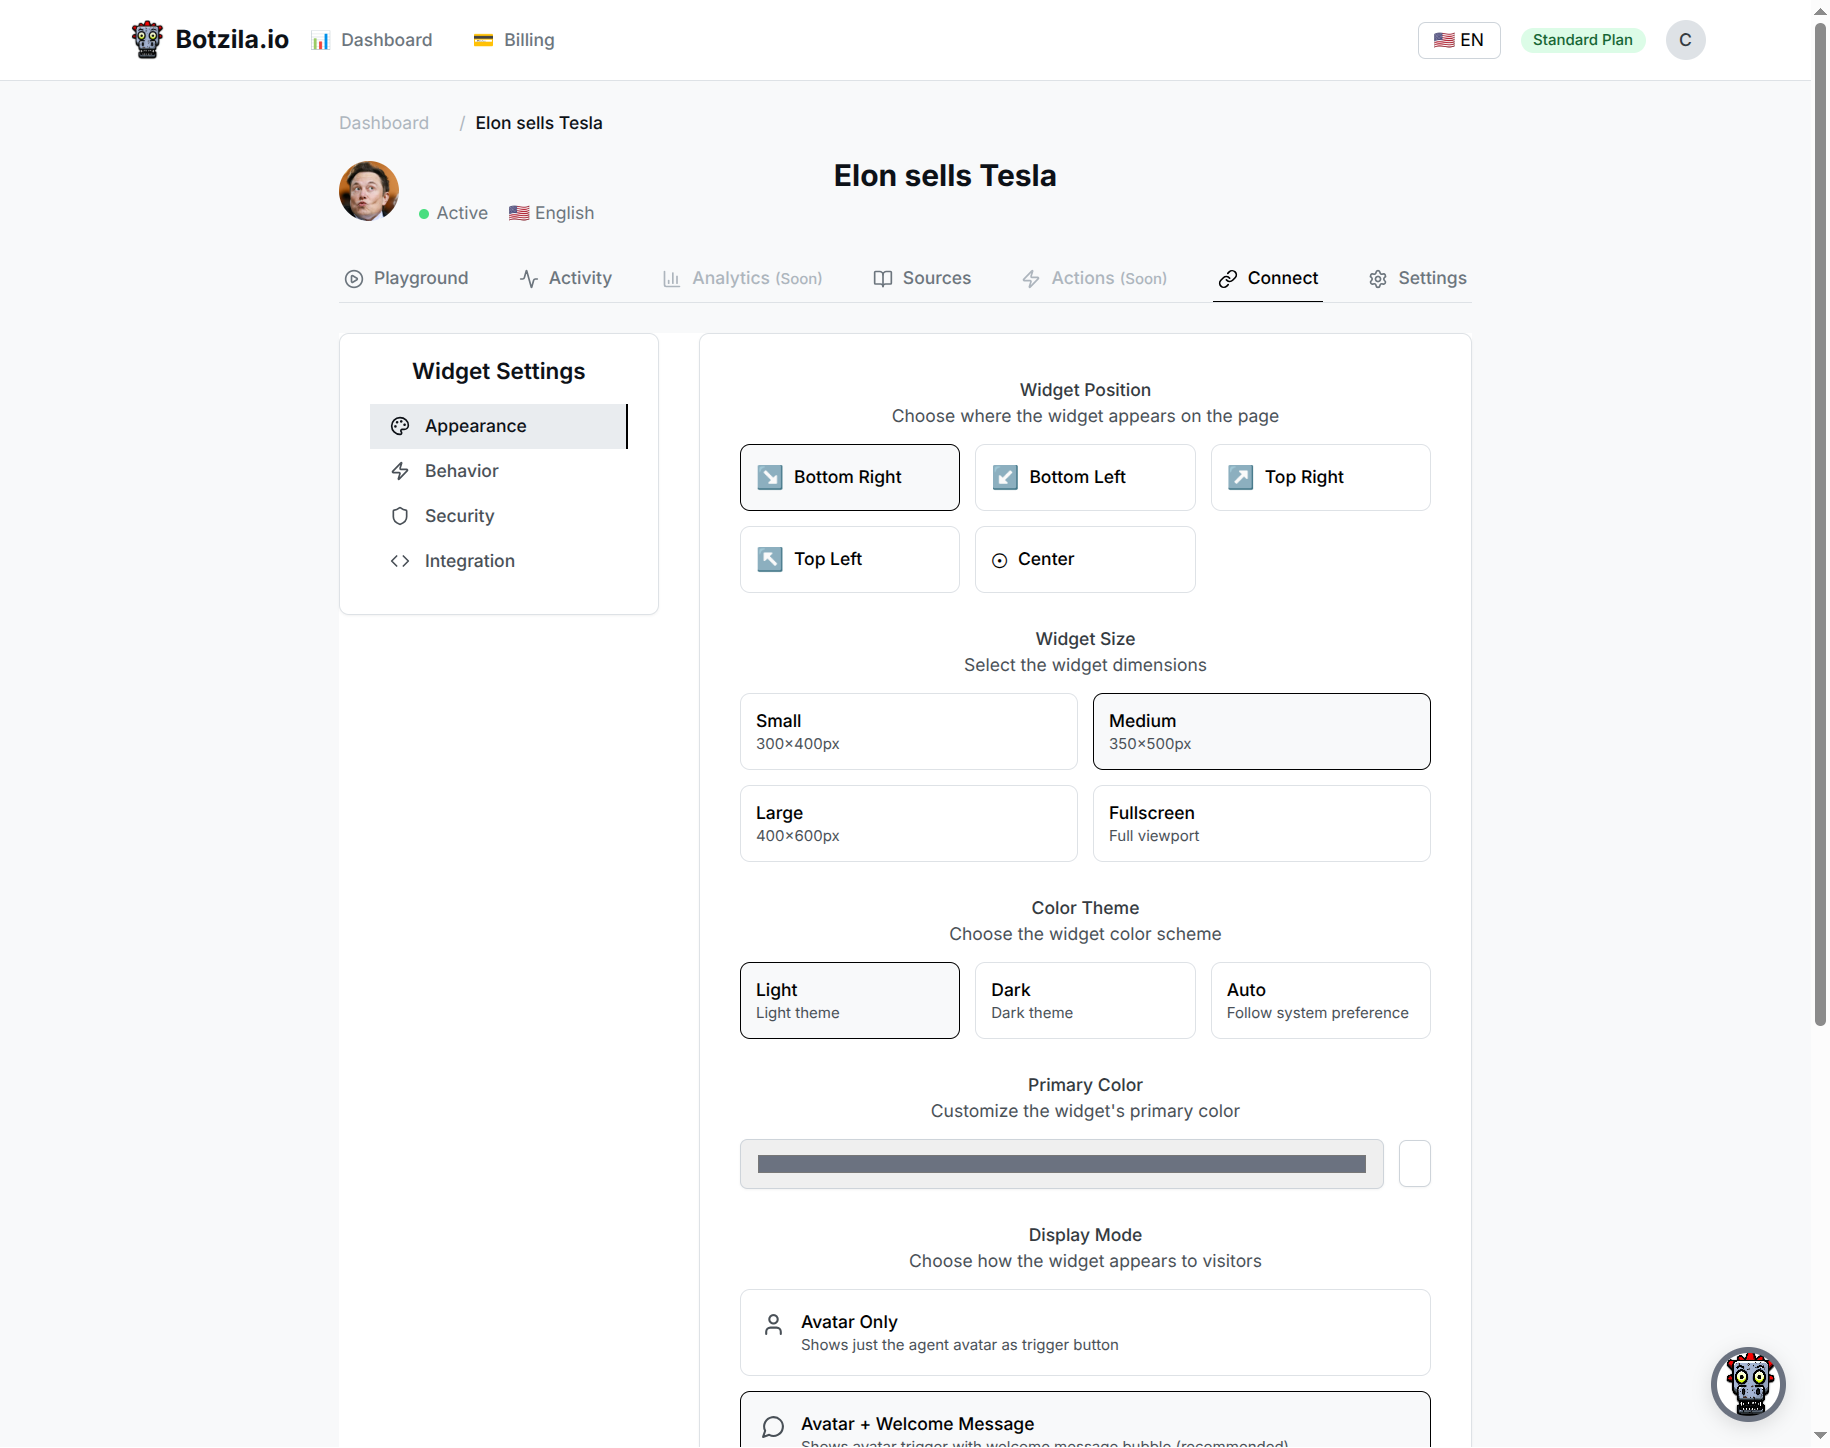
Choose where the widget appears: bottom-right, bottom-left, top-right, top-left, or center of the page.
Select widget dimensions: small (300x400px), medium (350x500px), large (400x600px), or fullscreen.
Light or dark theme to match your website design.
Customize the widget's primary color to match your brand.
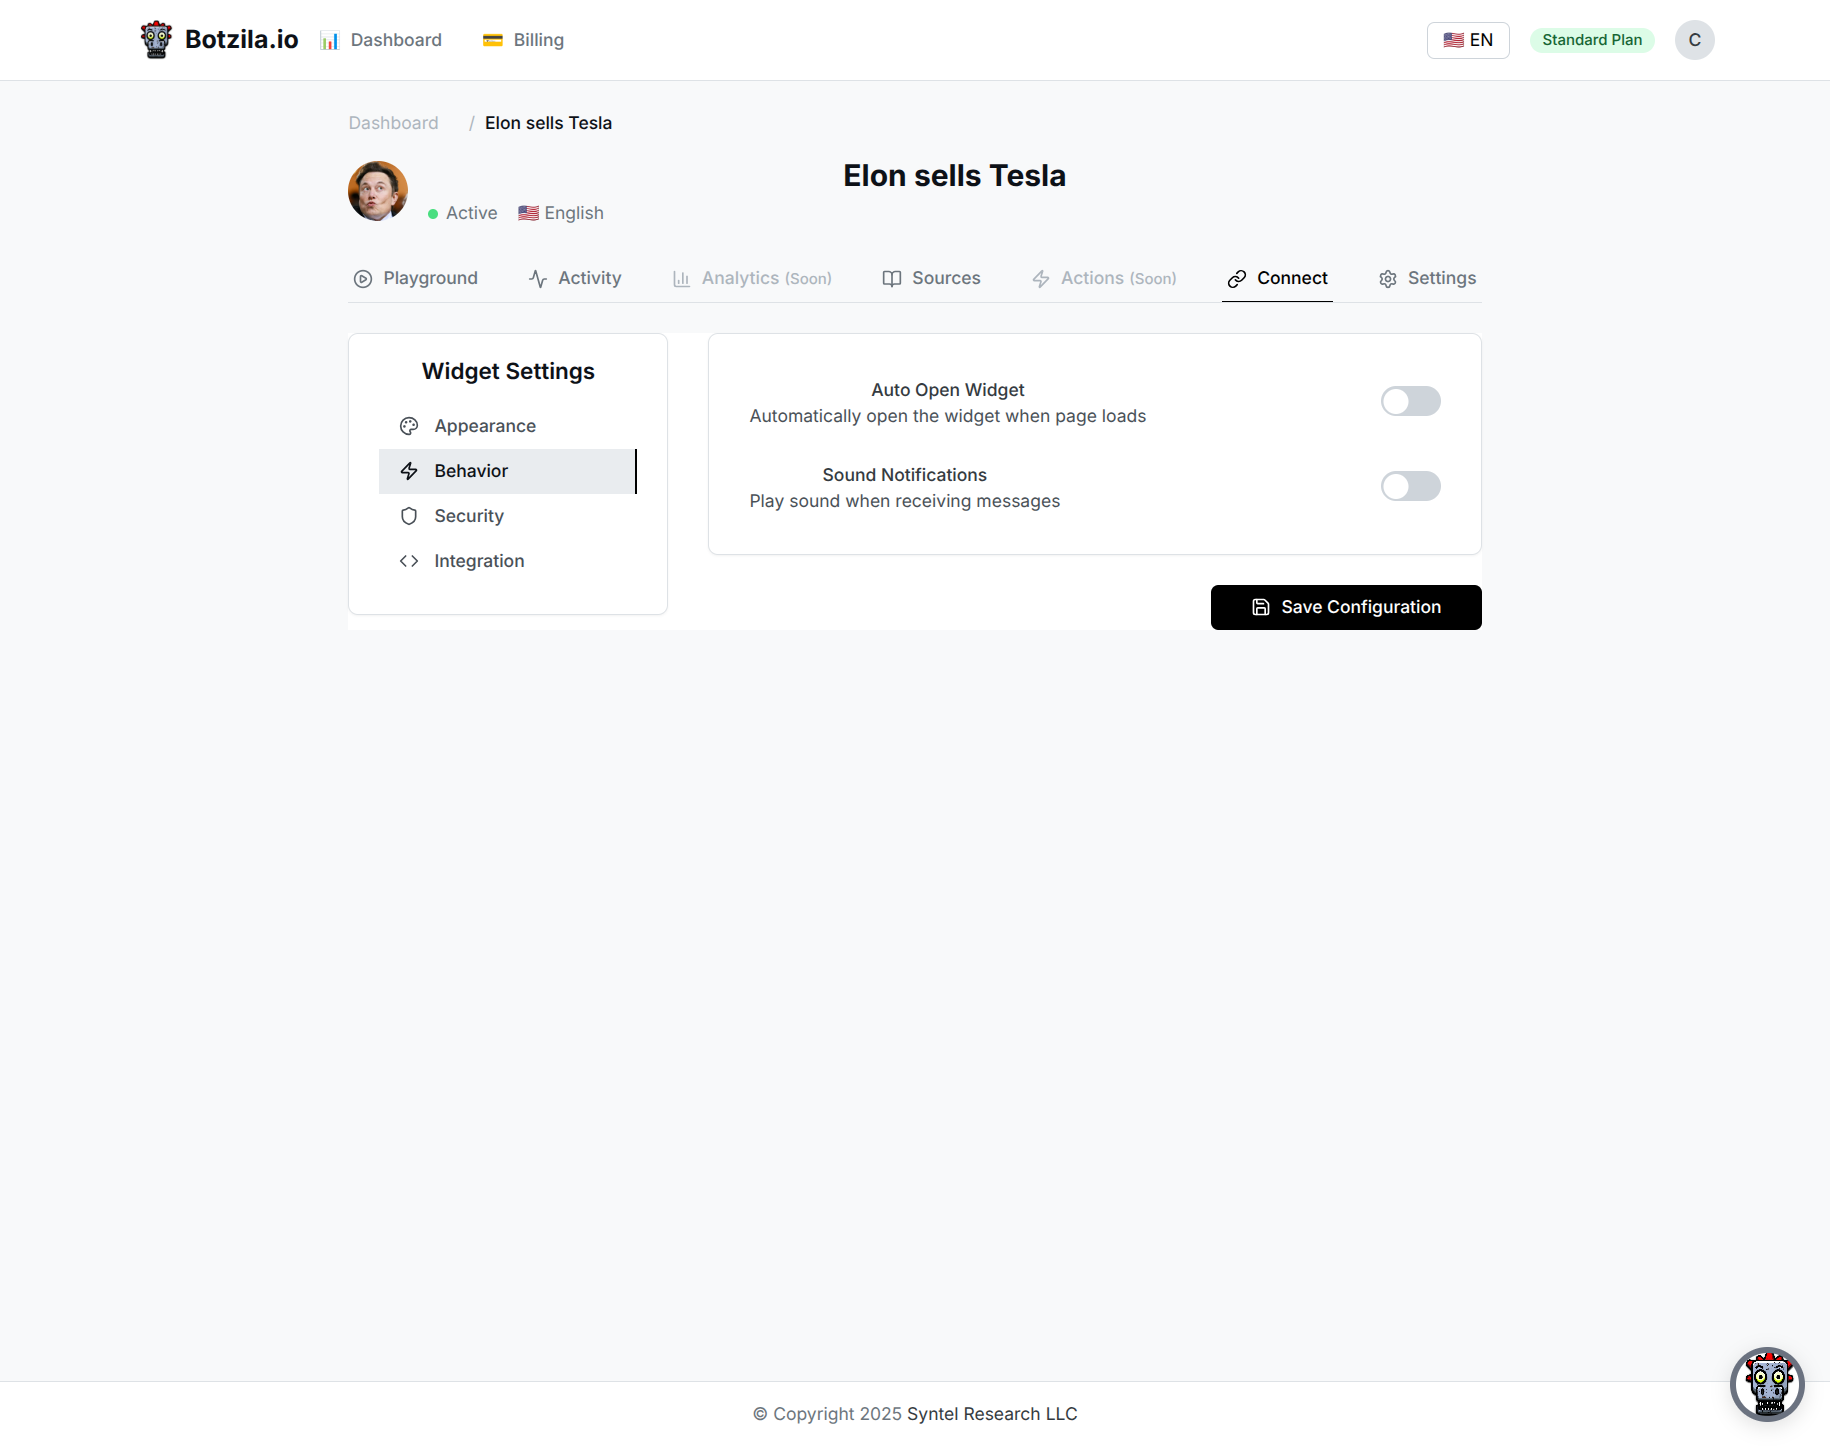
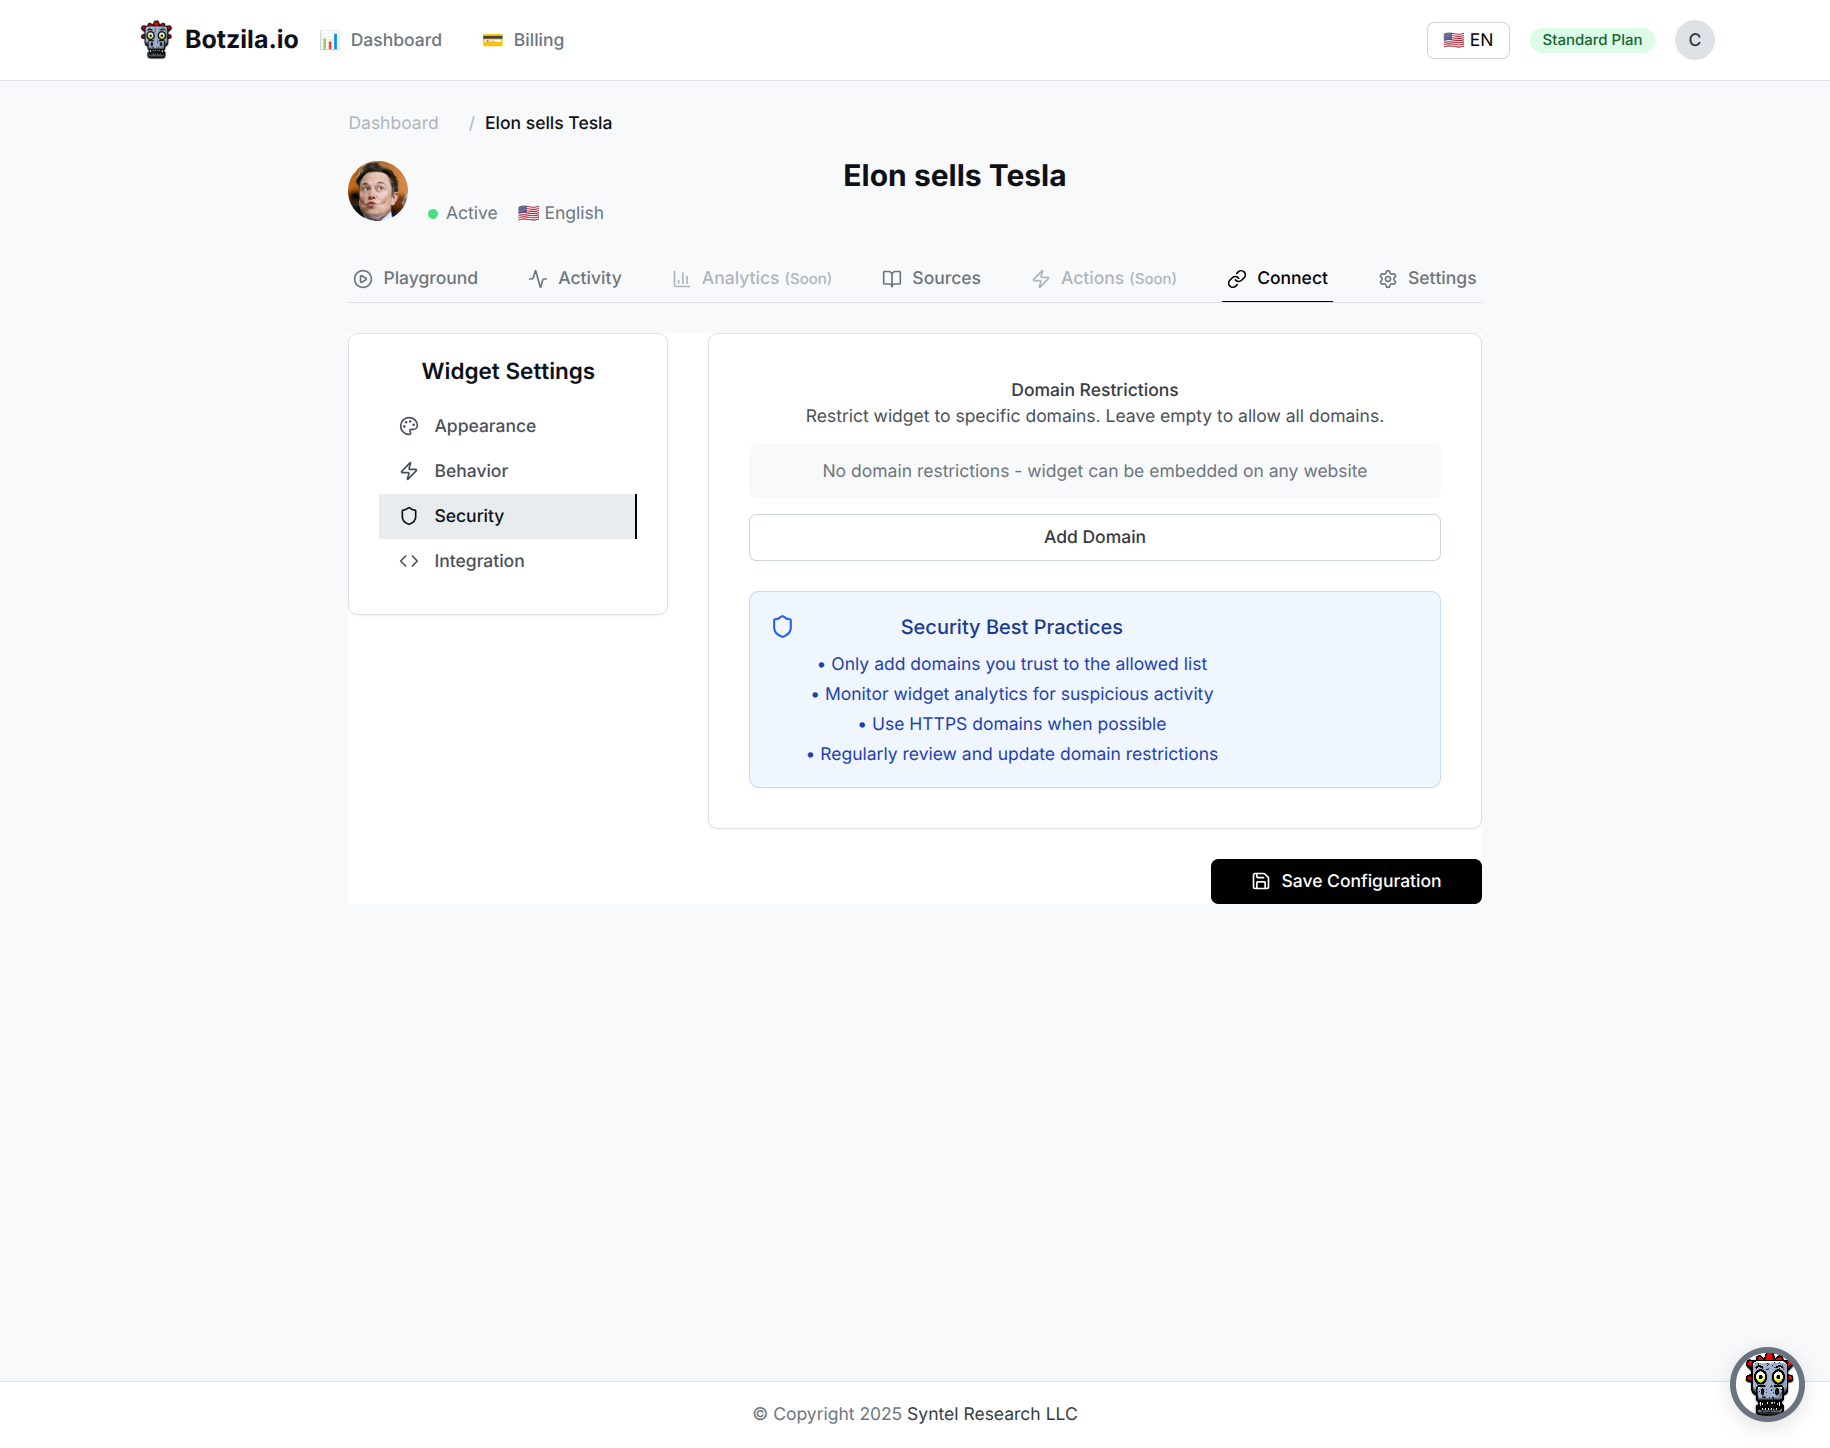
Restrict your widget to specific domains for security. Leave empty to allow all domains.
Example: Adding "example.com" will allow example.com, www.example.com, and all subdomains.
Recommendation: Always add domain restrictions for production deployments to prevent unauthorized use.
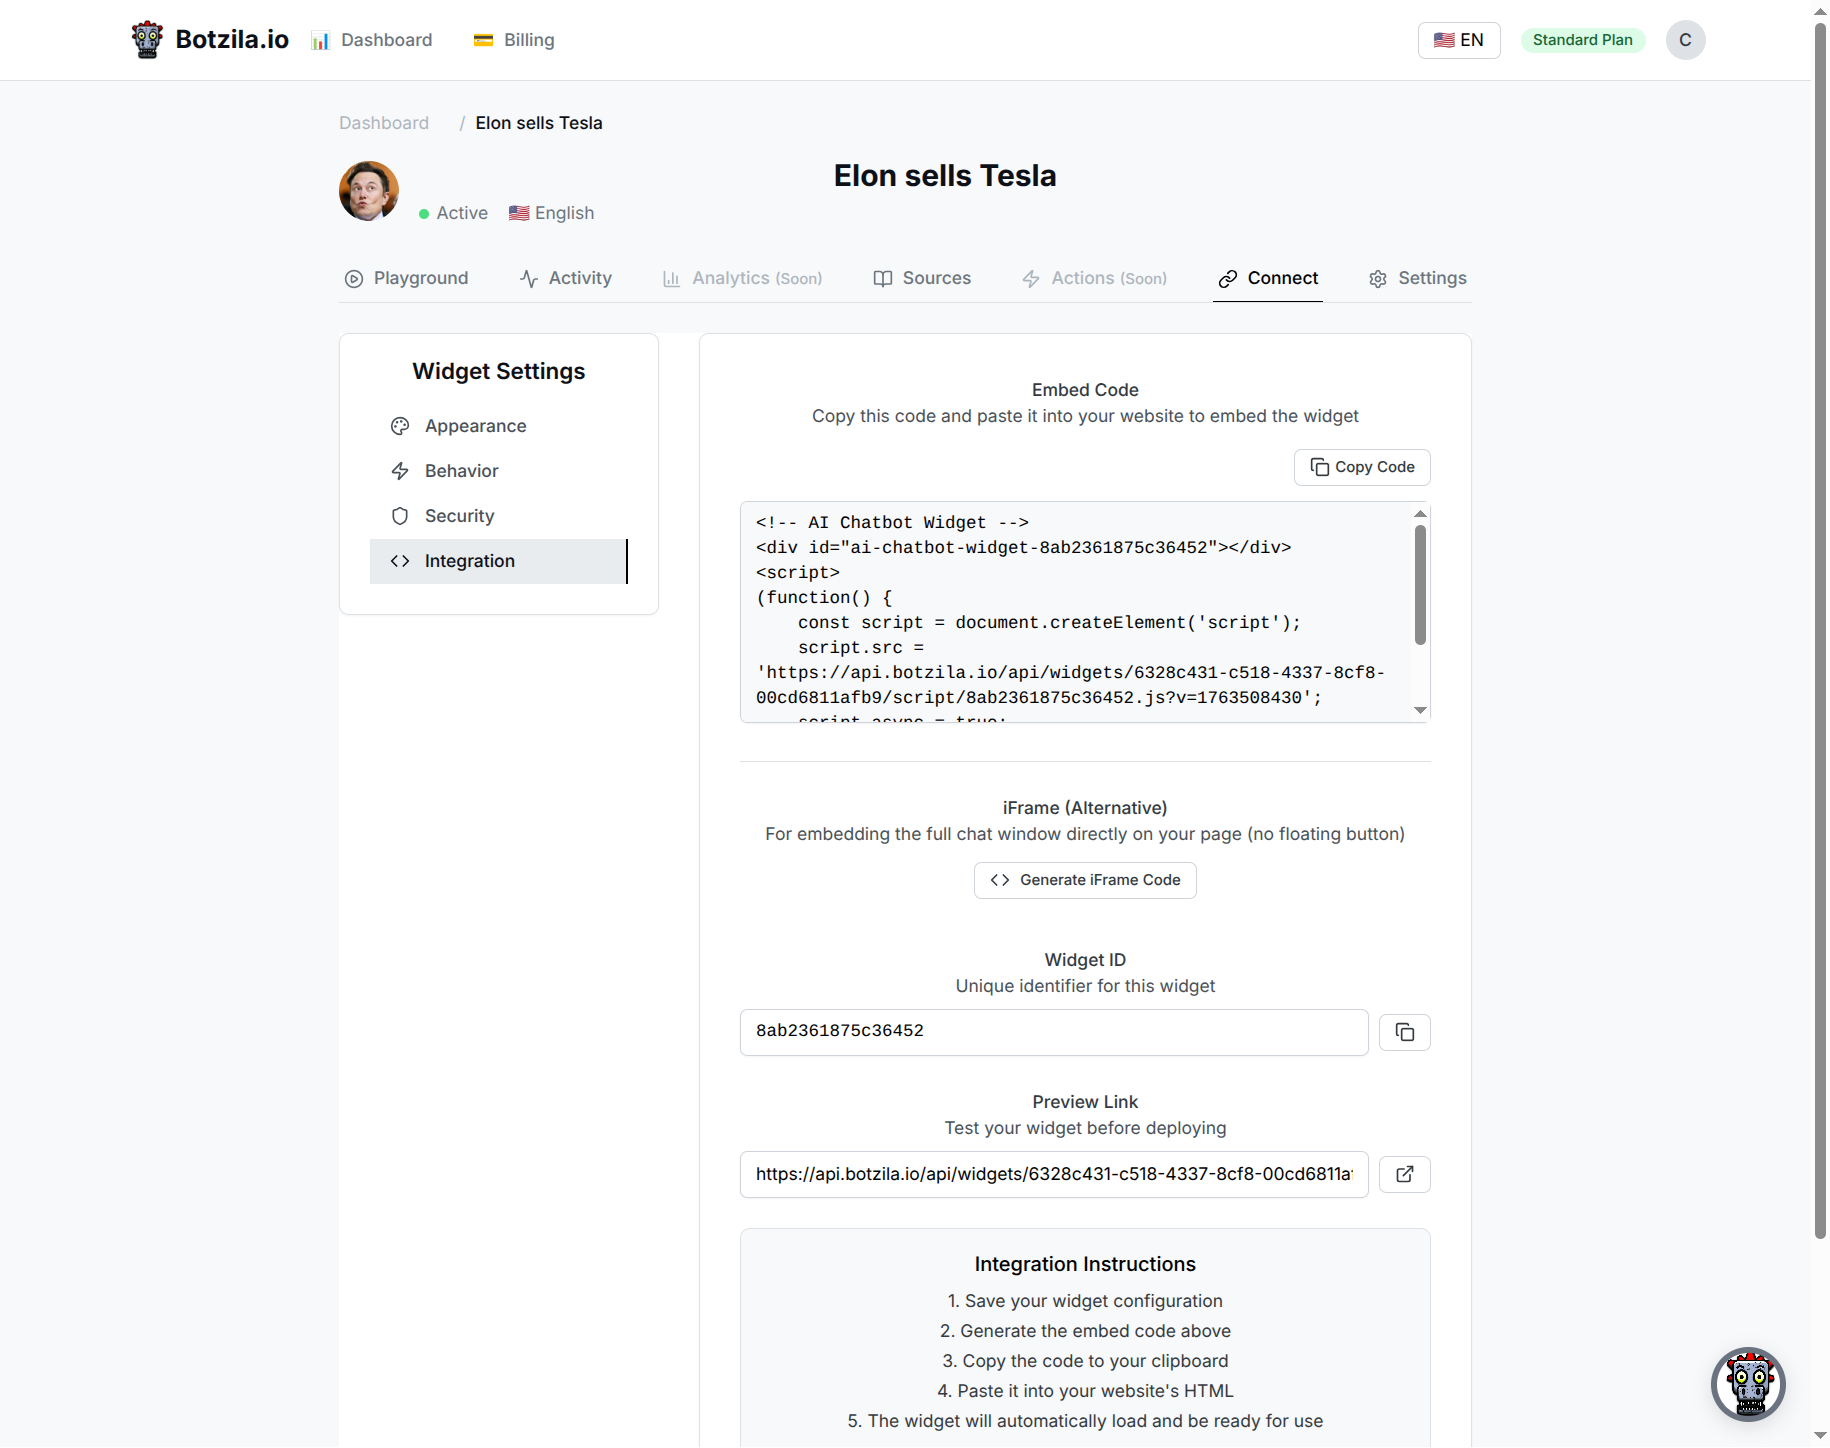
A lightweight script tag that loads your widget dynamically. Shows a floating chat button that users can click.
Embeds the full chat window directly on your page (no floating button). Click "Generate iFrame Code" to get this version.
Manage your subscription, payment methods, and billing history
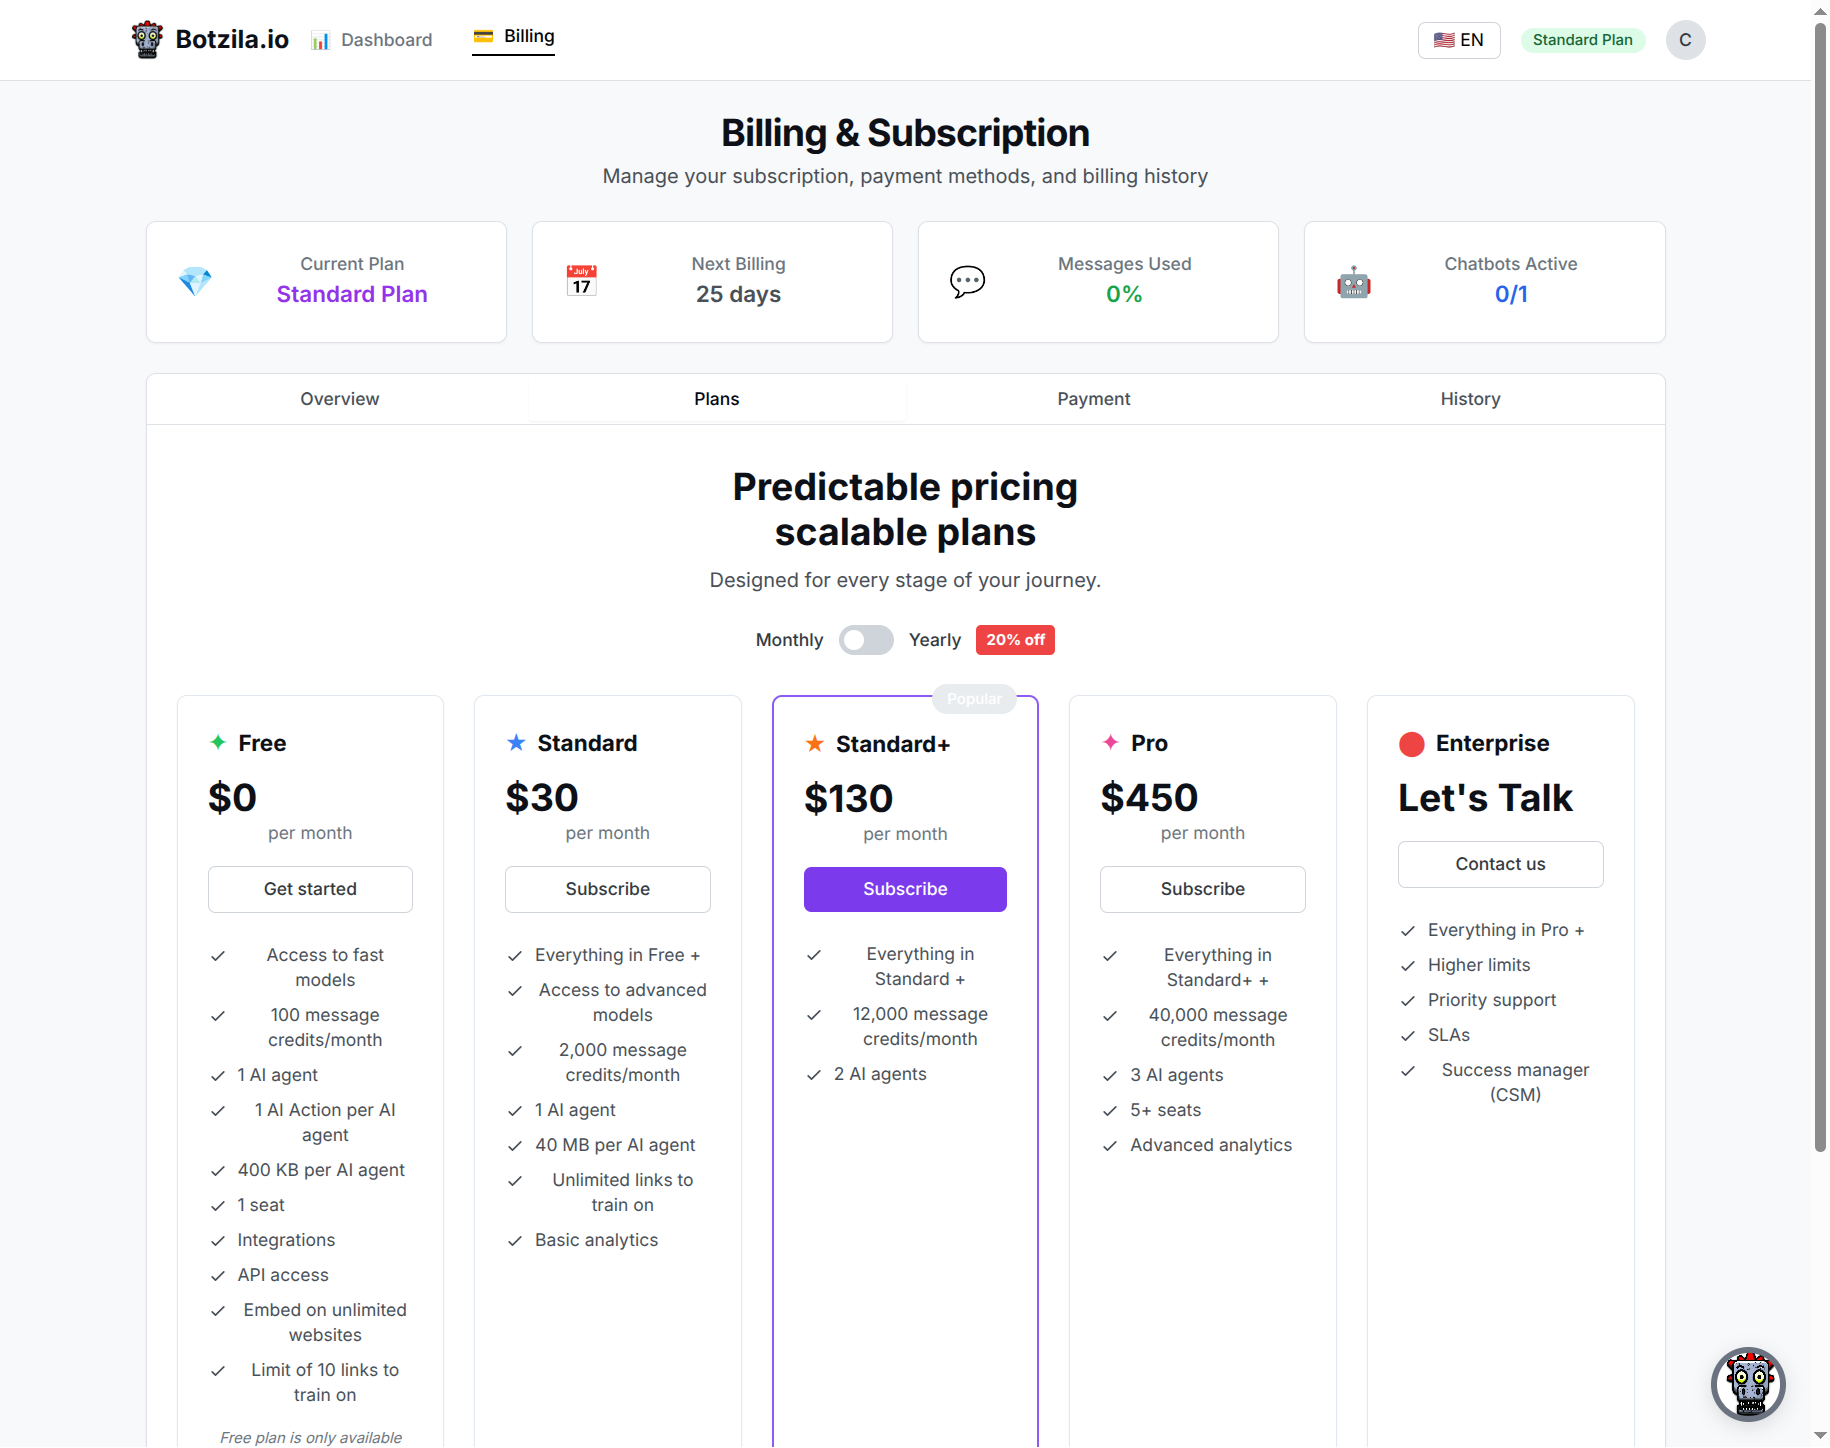
| Plan | Monthly | Messages/mo | Chatbots |
|---|---|---|---|
| Free | $0 | 100 | 1 |
| Standard | $30 | 2,000 | 1 |
| Standard+ Popular | $130 | 12,000 | 2 |
| Pro | $450 | 40,000 | 3 |
| Enterprise | Custom | Custom | Custom |
* Save 20% with annual billing. Free plan available for 5 days only.
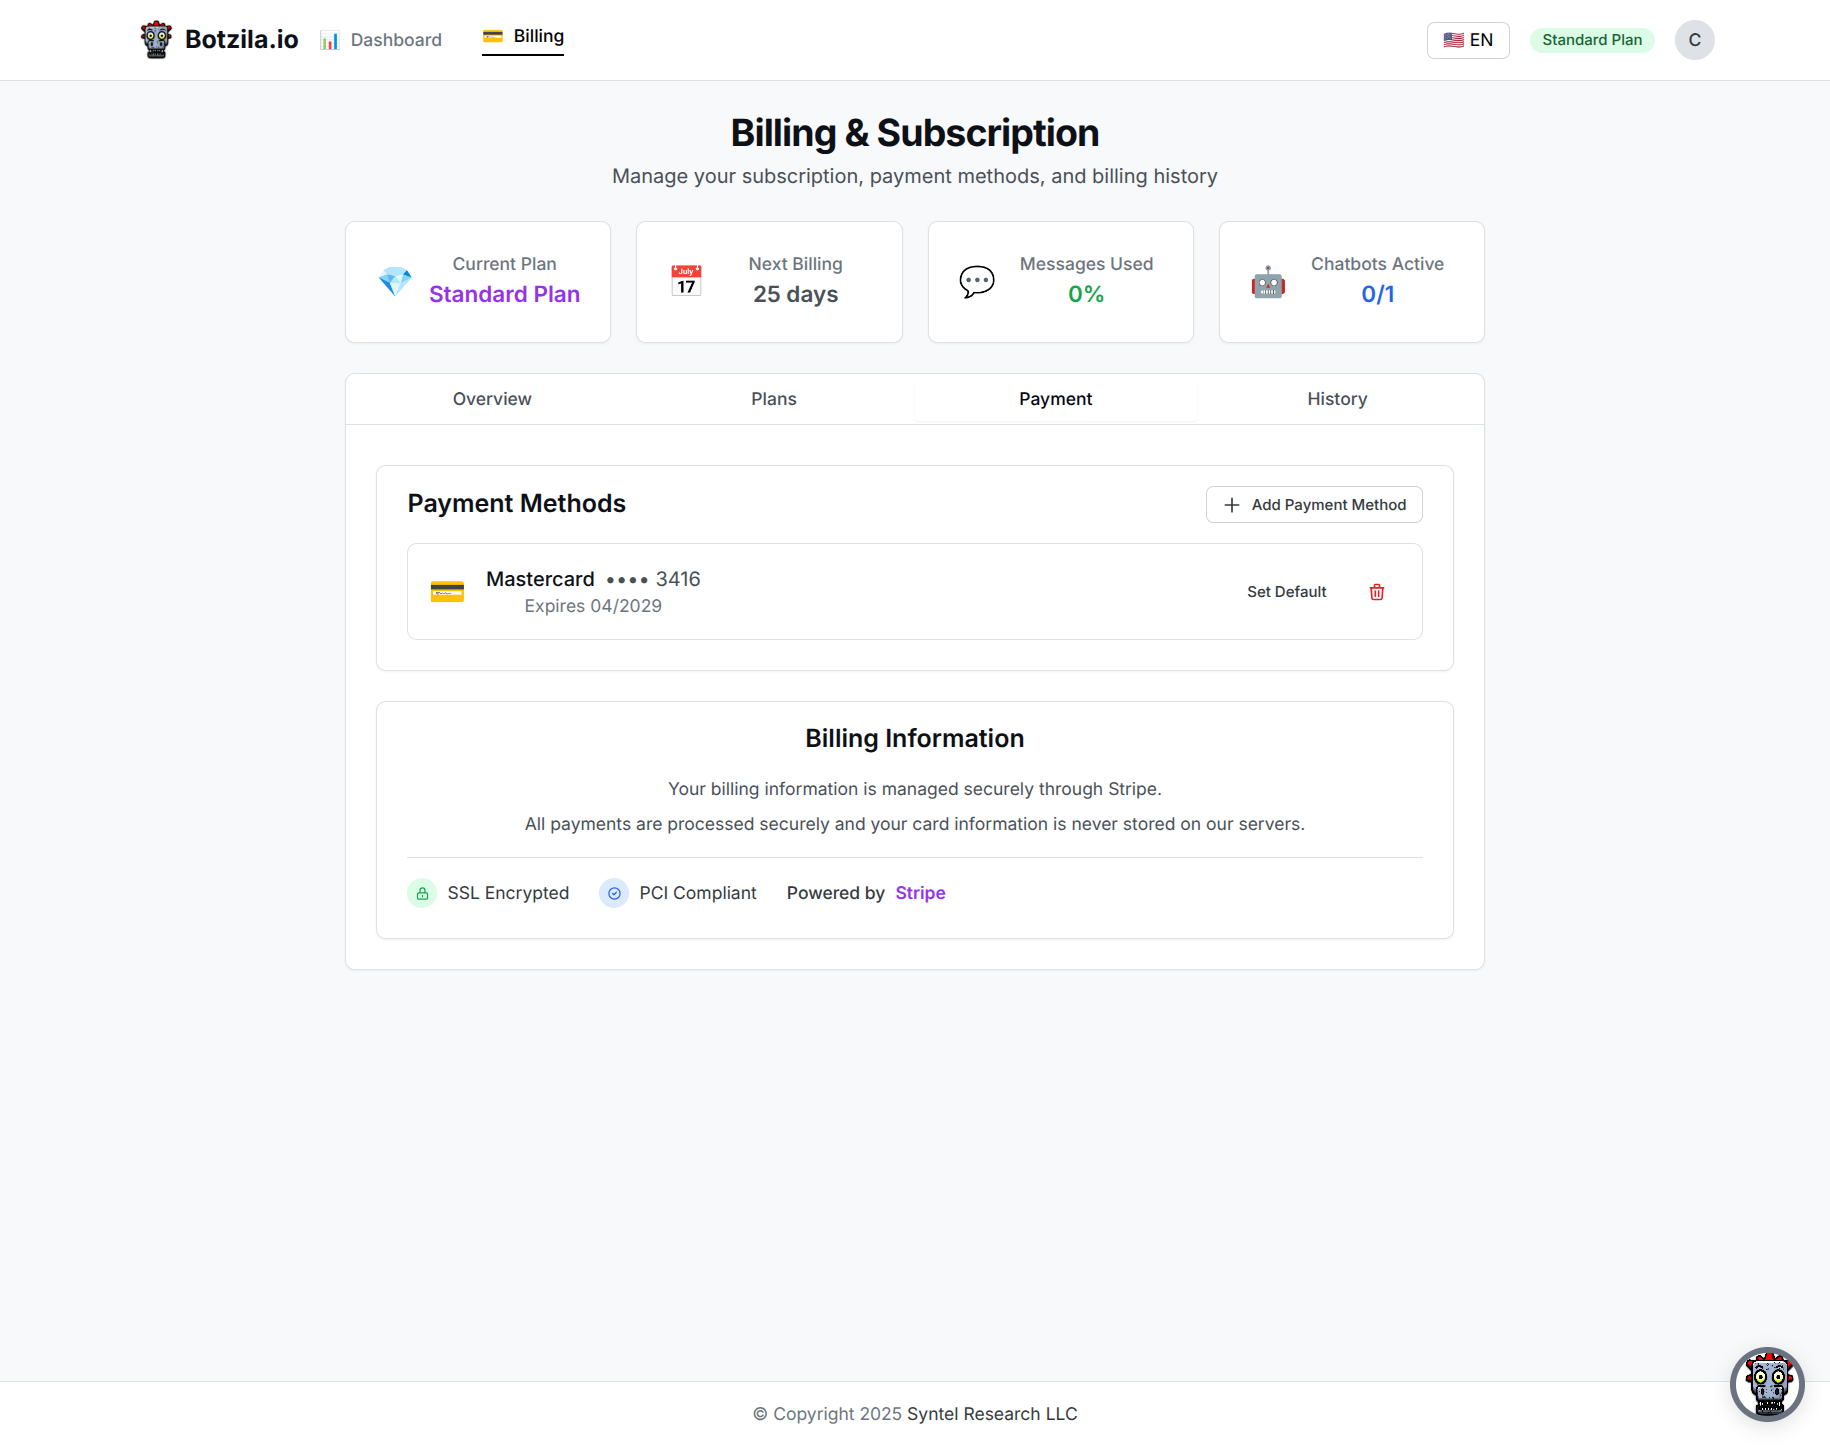
Manage your payment methods securely. All payments are processed through Stripe.
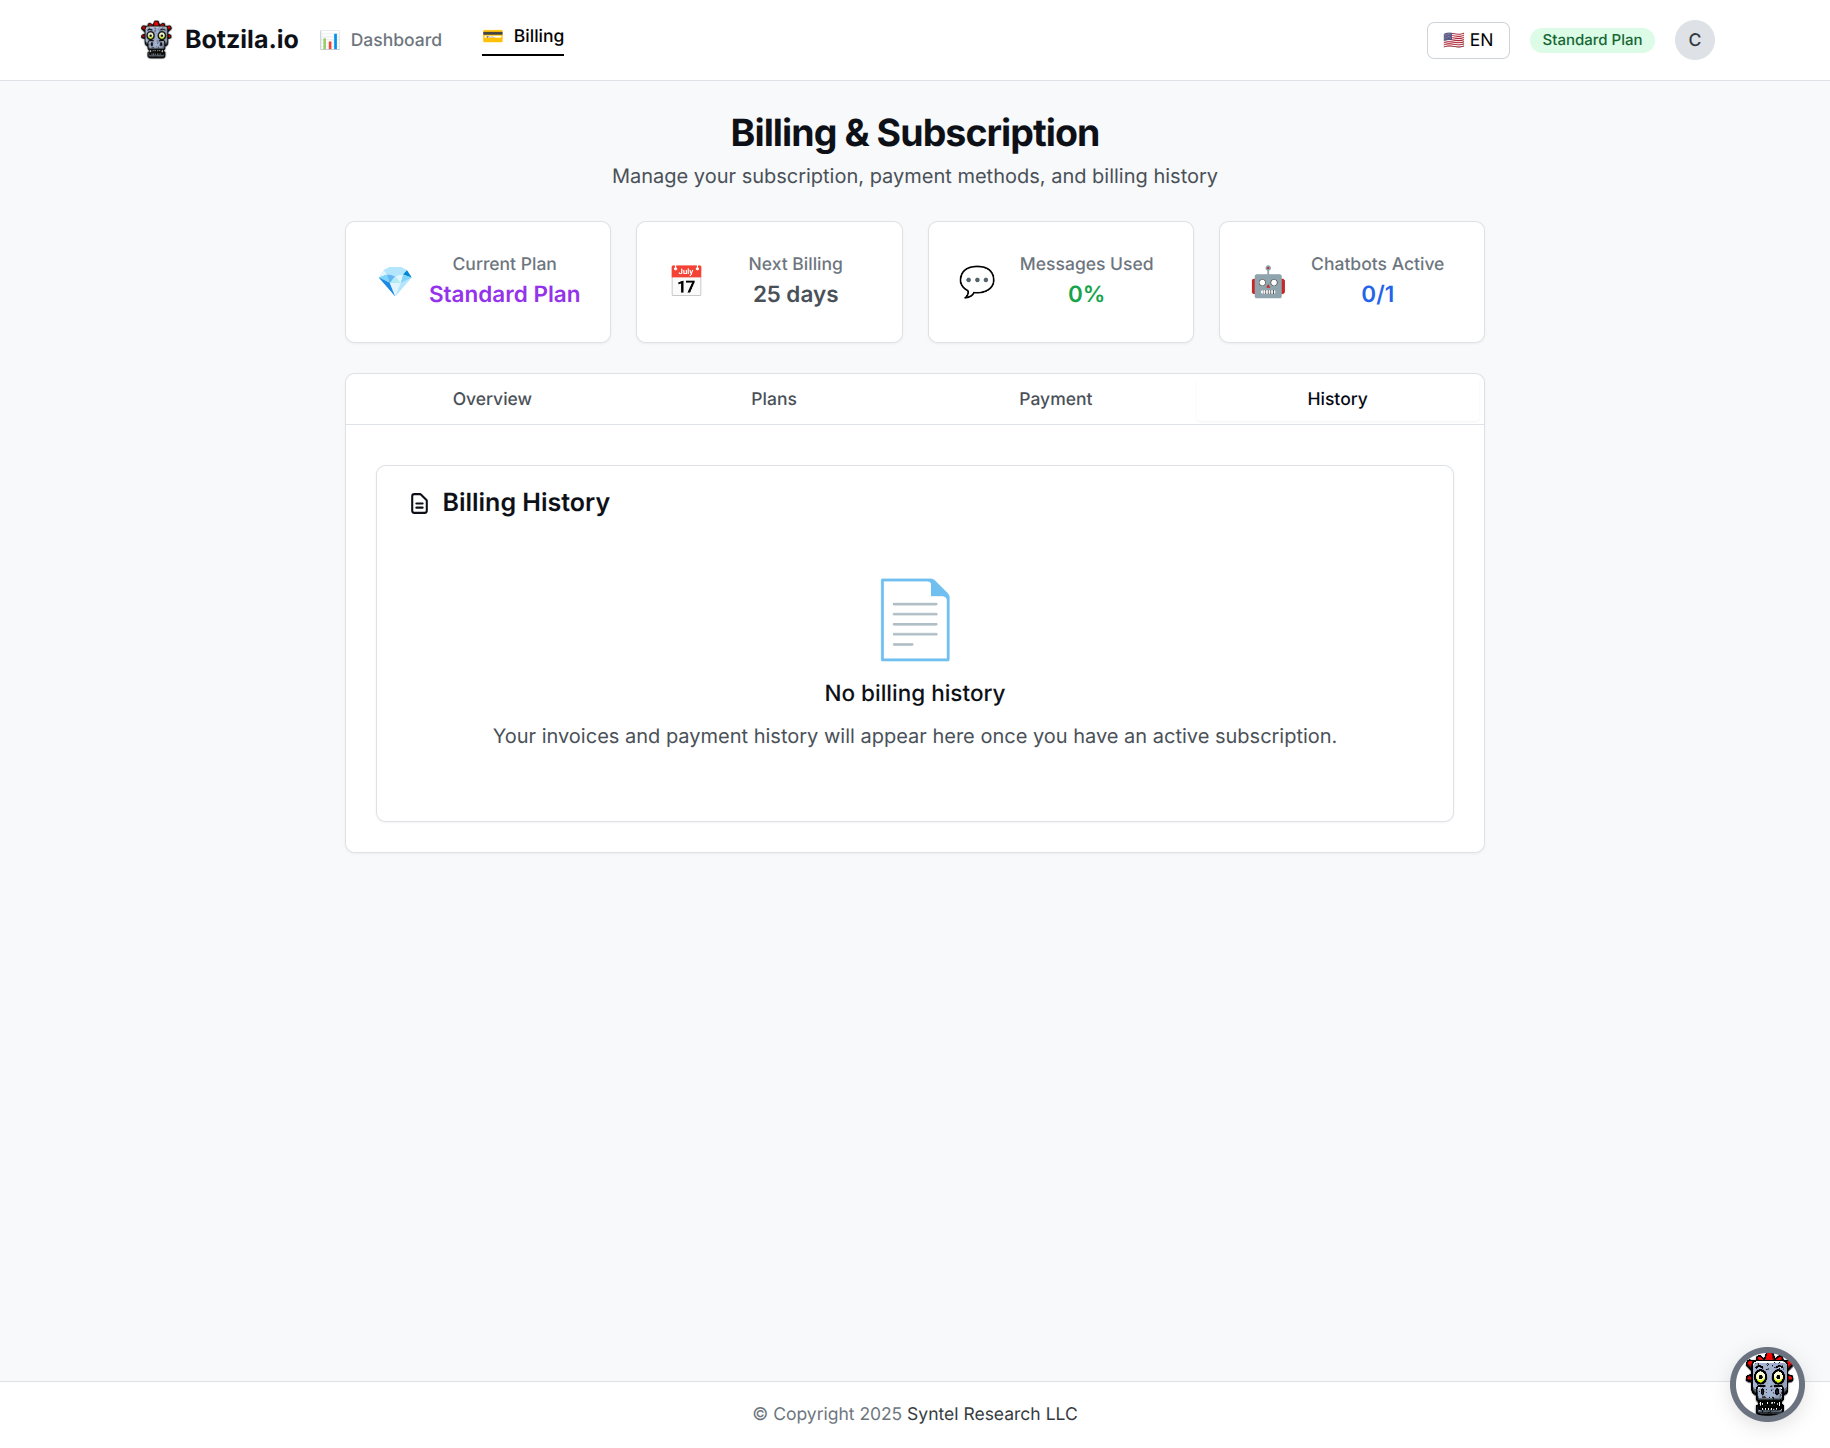
Access all your invoices and payment history:
Explore advanced features like activity tracking, analytics, and the chat playground
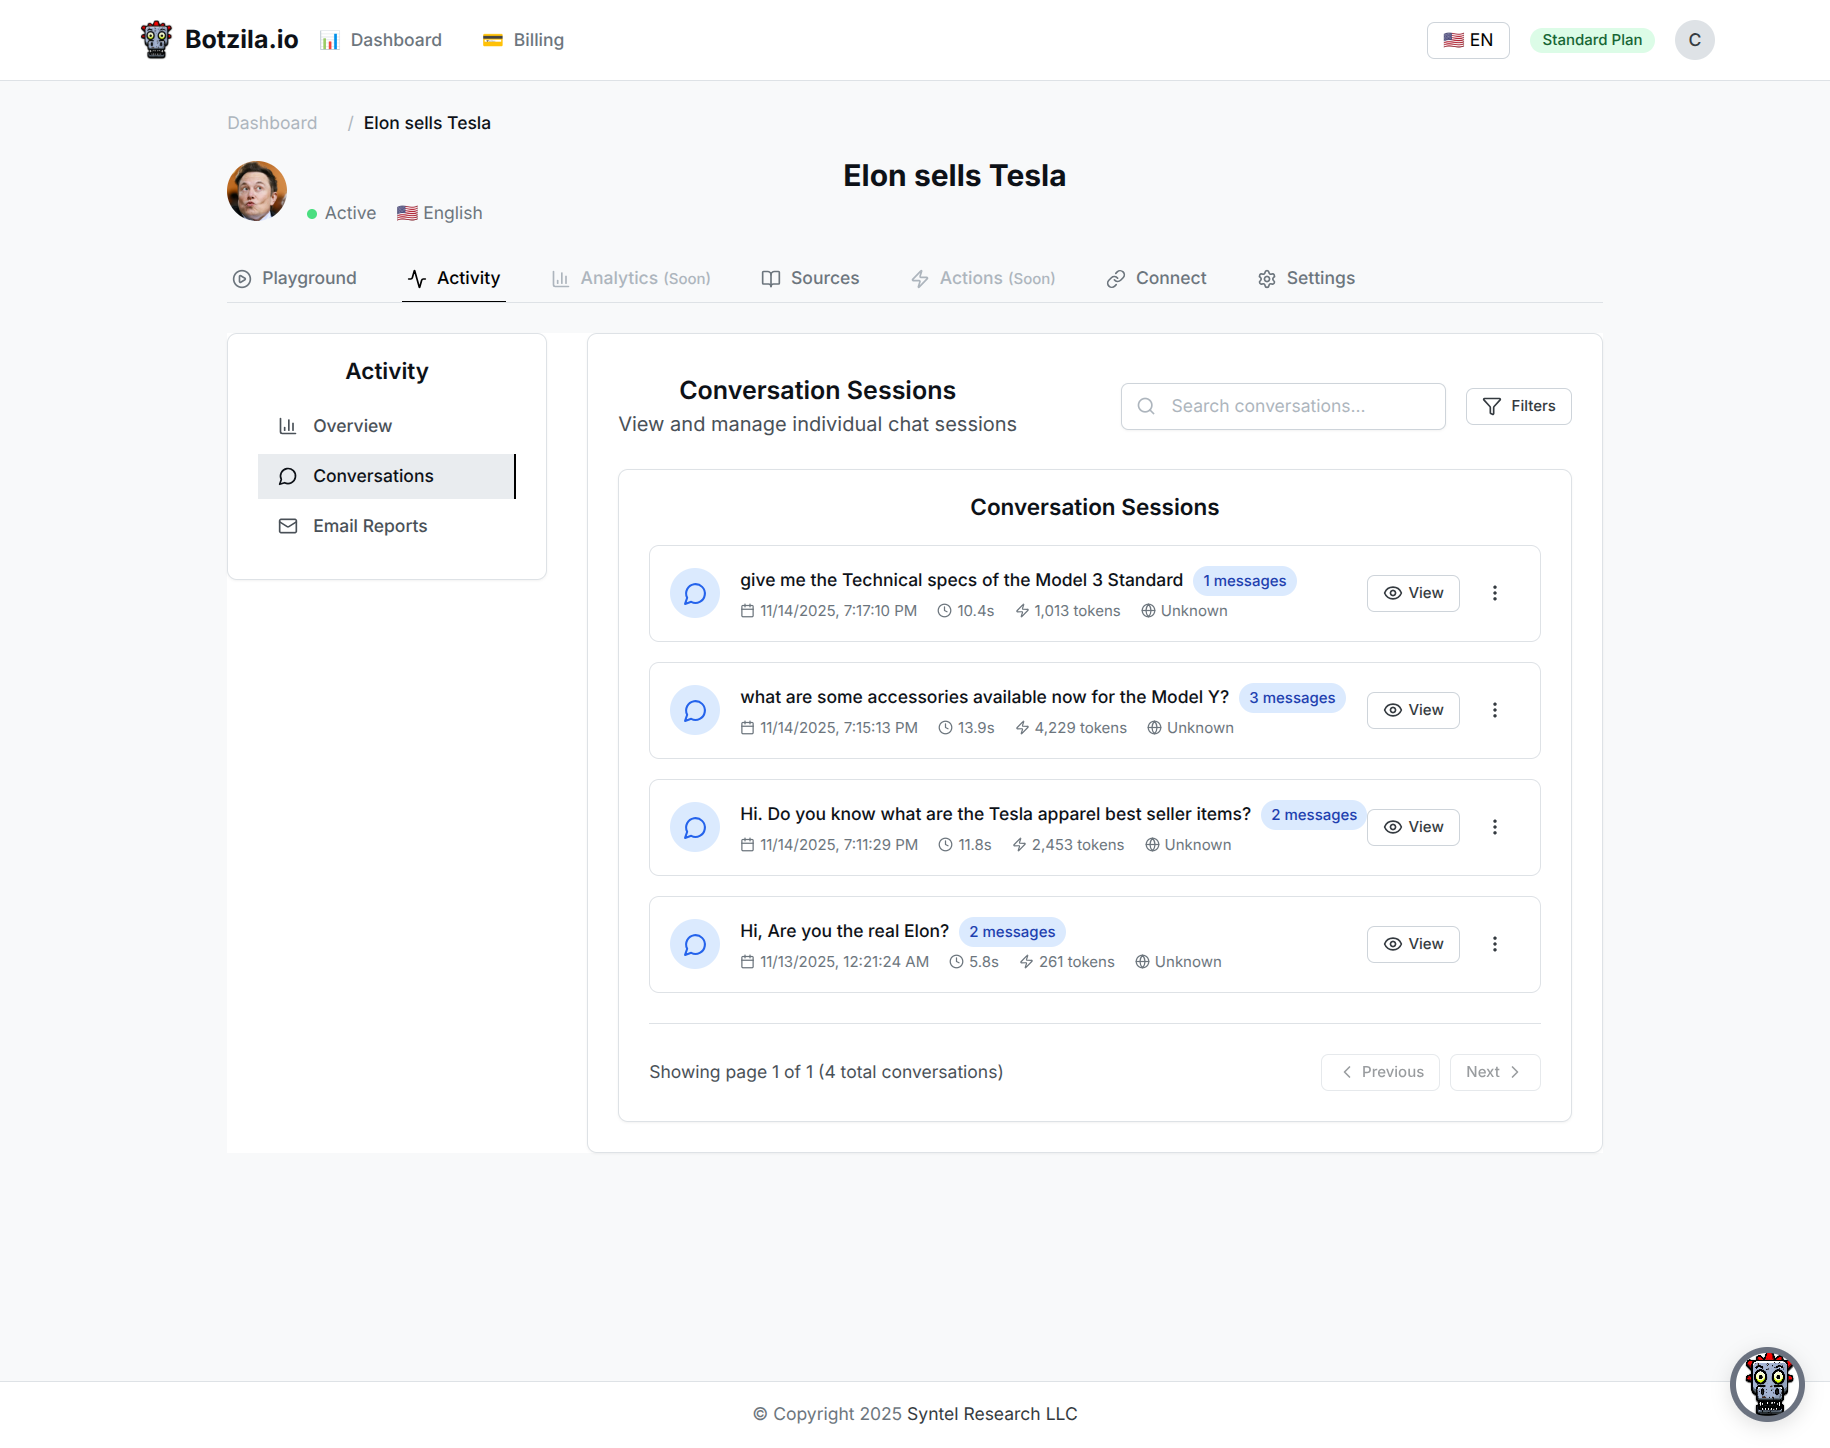
Track all conversations and user interactions with your chatbot:
Monitor usage, costs, and performance:
Test your chatbot in real-time before deploying:
Find answers to common questions about Botzila.io
Creating your first chatbot is easy: 1) Sign up for an account, 2) Click "Create New Chatbot", 3) Enter basic information (name, language), 4) Customize personality and appearance, 5) Upload training data, and 6) Test in the playground. The entire process takes less than 10 minutes!
You can upload PDF, DOCX (Microsoft Word), TXT (plain text), and XLSX (Excel spreadsheet) files. You can also add website URLs to crawl, manually input text content, or create Q&A pairs directly in the platform.
Navigate to the "Connect" or "Widget" tab in your chatbot dashboard, configure the widget's appearance and behavior, then copy the embed code. Paste this code into your website's HTML, just before the closing </body> tag. The widget will appear immediately on your site!
Go to the Billing page from your dashboard, select the plan you want, choose monthly or yearly billing, and complete the payment. Upgrades take effect immediately. Downgrades will take effect at the end of your current billing period.
Yes! You can cancel your subscription at any time from the Billing page. Your chatbot will continue to work until the end of your current billing period. No refunds for partial months, but you'll retain access until the period ends.
Billing is based on your plan's fixed monthly or annual price. Each plan includes a specific number of message credits per month. Message credits are consumed each time the chatbot responds to a user question. Unused credits don't roll over to the next month.
When you approach your monthly message limit, you'll receive email notifications. If you exceed the limit, your chatbot will stop responding until either: 1) Your next billing cycle begins and credits reset, or 2) You upgrade to a higher plan with more message credits.
In the Widget Setup tab, navigate to Security Settings. Add the domains where you want to allow the widget (e.g., "example.com"). The widget will only work on those domains and their subdomains. This prevents unauthorized use of your chatbot on other websites.
Yes! Go to the Activity tab, select the Conversations section, and you can export all conversations to CSV, PDF, or TXT formats. This is useful for analysis, compliance, or archiving purposes.
From the dashboard, find the chatbot you want to delete, click the settings or options menu, and select "Delete". You'll be asked to confirm this action. Warning: Deleting a chatbot is permanent and cannot be undone. All training data, conversations, and settings will be lost.
Can't find what you're looking for? Get in touch with our support team
Or reach us directly: